Then I decided after a couple of incidents at ramps getting assistance from crew who did not understand winches that I should make the outfit so I can launch and retrieve solo.
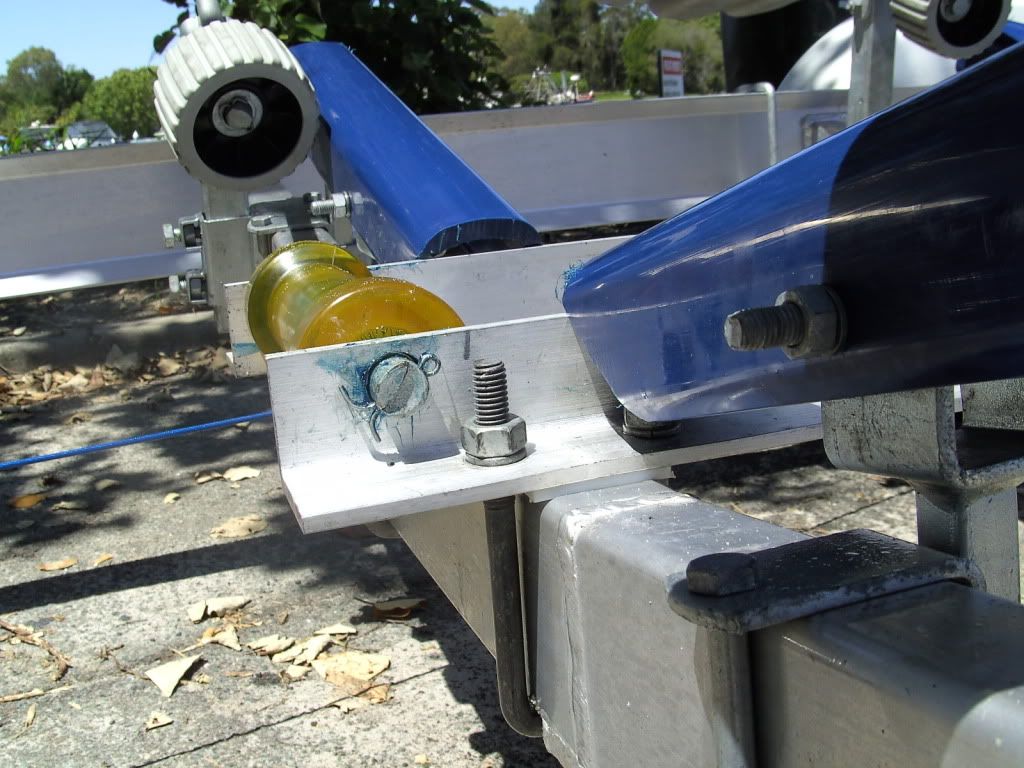
So the first thing I did was to add to the front a roller outside the roller the boat snubs up to. This is useful at launching time as I get the rope from the boat and take it down through the d shackle at the front of the boat then wind it around the roller once so when the boat takes off down the trailer it doesn't drag me with it. I can easily slow the boat launch speed single handed and without fear of launching myself with the boat - they are pretty fast on a rollered trailer.
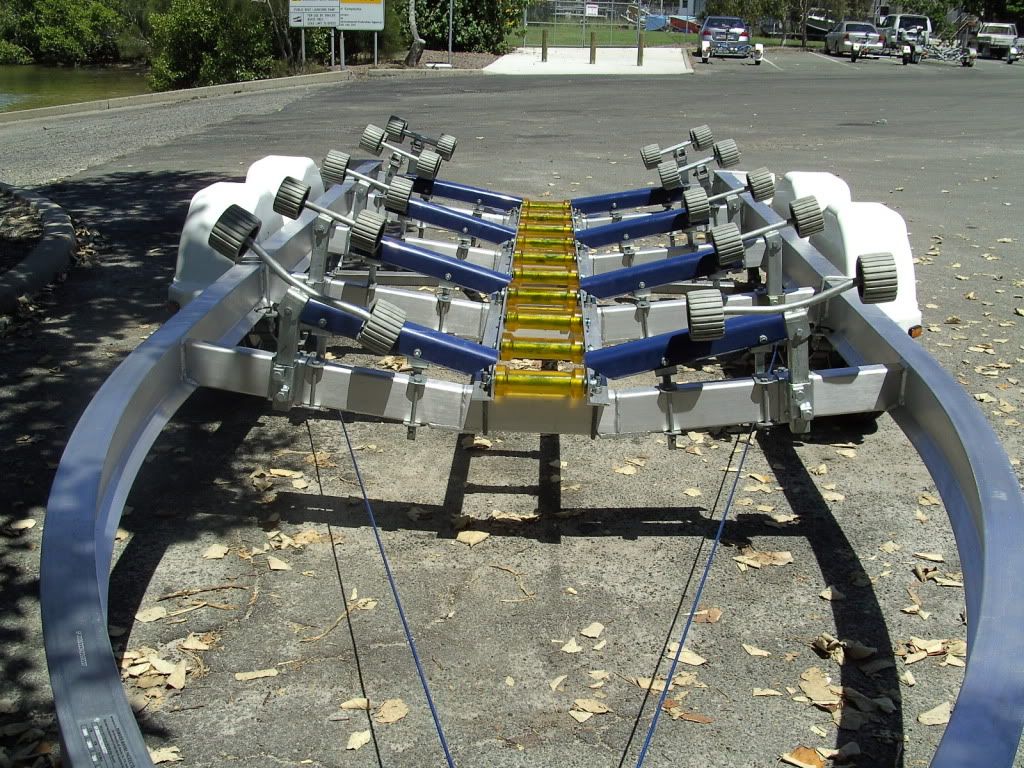
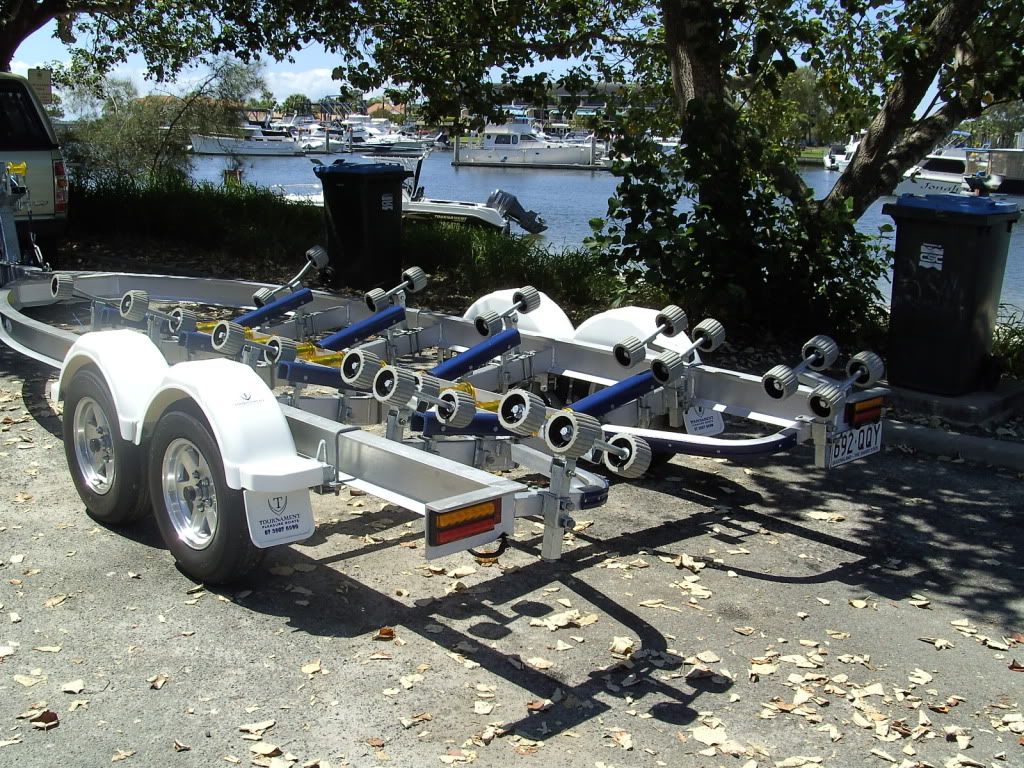
I also added a boat catch to secure the boat upon retrieval time. I did find however the boat did not always align with catch as it tracked off line enough to be a major pain so I remedied this by adding "V" guides at the frant and rear of the boat - it aligns perfectly now with wind, current or unbalanced load.
A couple of things I did at the winch post too was to add a stainless clip so when the boat is driven onto the trailer and caught by the boat catch I can just attach the S?S clip to the boat to secure it then drive up the ramp and fix the boat securely with turnbuckle. I attached the s/s clip with a rated shackle using permanent thread lock and then cutting off the wings that allow the d shackle to be undone - not completely theft proof but certainly not an easy take either.
I also put a piece of wood dowel through the turn buckle to stop it rattling loose on trips. I had it come completely undone on a trip from 1770 and the winch strap broke too, so the only thing left keeping the boat on was an unrated D shackle that was distorted and fractured by the time I got home
Another item worth showing is the wheels. The trailer comes with cheap Chinese bearings and spring loaded grease mates - so I replaced the bearings with quality japanese or US bearings and the grease mates replaced with dura hubs and bearing oil.
As you can see in the picture with the front disc brake hub, the water got in and started to rust the bearings.
Some things I did not cover but think should be here.
Firstly it is a good idea to have a spare on the trailer - on a mount to secure it and with a theft deterent - I got a cover with mine too - helps protect the spare from UV.
I think it is a good idea to have lock nuts on the boat wheels too - and definitely use the one's that do not have key mechanisms - mine seem to be fine with time.
I did find the nuts that came with the trailer corroded readily and have replaced them progressively.
And finally have a look over the electricals - I found some work that Dunbier can not be proud of.
The wiring to the LED side light shows here clearly to have a long string of exposed wire outside the waterproof joint - how is that supposed to work!? This light has faulty wiring that when the wires are split the copper wire just becomes exposed - hence it is rubbish and should not have been used. It was obviously not going to last long on a trailer to be submerged frequently. Not a big ticket item but really just shows something you do not expect to see as workmanship put forward by Dunbier
.crap wire.JPG
I respliced it and put liquid tape over the splice then four layers of almagamating tape over it. This light will need replacing soon I recon.
Nice work.....the v guides look heavy duty, where did you get them from? I have a similar prob with it not coming up centre everytime....I think it must be my 90kg on 1 side as it is always low on the starby side.
Cheers,
Trev Oh your wifes not called Kelly too.... (got that from your avatar)
Trev, a lot of good work there, thanks for sharing. I would look at redoing the wiring on the lights though. Have you sent Dunbier any pics of the wiring, I am sure they would appreciate a heads up also it may not have been like that when it left their factory but the wiriing got damaged in transit and was shoddily repaired by the boat yard. Just a thought, although why anyone would usse lights that need to be spliced where they are going to get a soaking is beyond me.
Yep wife is called "Ella" - "Elly" is close enough
The guides added were from Dunbier - they are part of the new glide series - not cheap at $240 a pair with brackets - so front and back was $480. Bit of an ouch but figured it is worth it as it works great now.
Dignity, I hear what you are saying, but the hole in the guard for the wiring means a splice had to occur, also the wiring travels long inside the aluminium frame hollow section, and as you can see they did a good job one side with a proper waterproof spice but clearly the other side with wire hanging out and just taped over with normal tape is a bit poor. To separate the wires the wire was torn from the plastic around it - simply it did not sit middle and centre of the plastic, so faulty wire that should not have been used. I am tempted to put this to them for a reply. They were pretty good to deal with for the guides even if they did send me all the wrong sized bolts - too short to go through the bracket and then the plastic guide that sat on the outside of the guide - no matter $20 and a trip to hardware fixed it too.
Oh and one thing I mean to say too was if anyone wants free the grease mates I took off the trailer (there are four), plus some of the bearings for spare they are welcome to them - just have to pick them up from me at Petrie.
Some good work there Trevelly. Good to see guys take the effort to make sure that their trailers are in great shape and doing the job well.
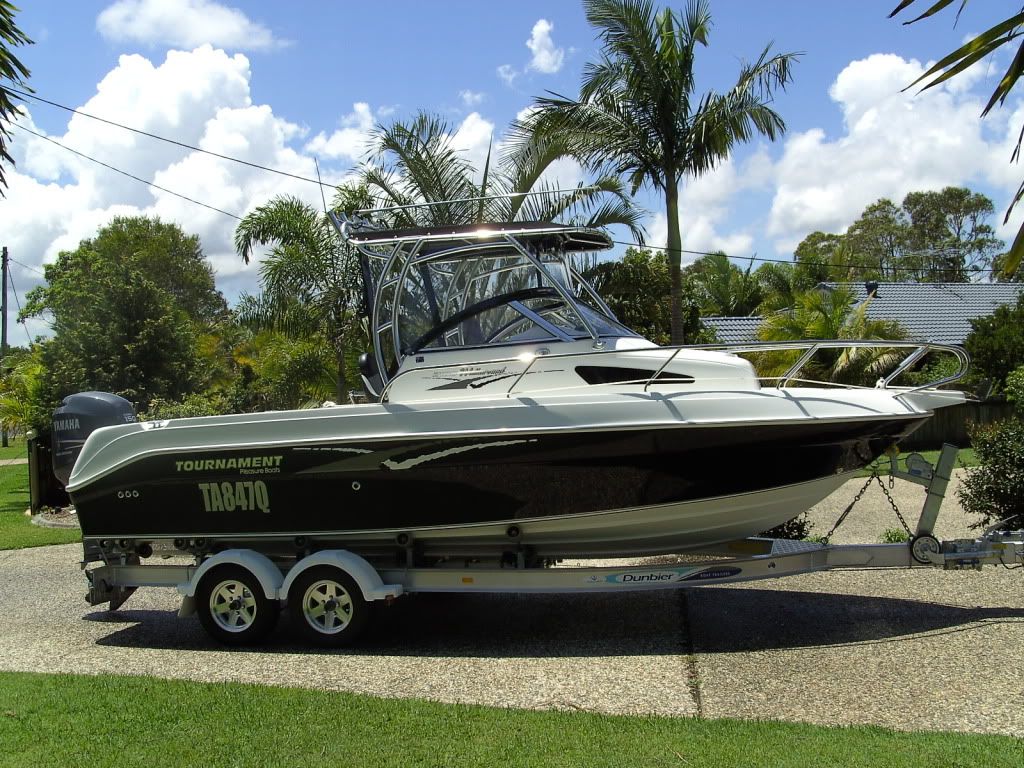
My new (9 months old now) trailer is one of the Dunbier Ally 6.5 glide series and my first Alloy trailer. Naturally had a few teething issues getting it set up better to suit the boat and how I want to use it.
I think that compared to other trailers I have owned, mostly Mayfairs, it stacks up well and I have to compliment Dunbier on their excellent after sales help in assisting sort out my concerns.
I have also given them feedback on minor issues to look at in their build process and they have also been very approachable and appreciative of the feedback.
After many years of boating, I am under no grand illusions about being able to buy something that is perfect (would be nice in an ideal world) but I am overall happy with the Dunbier I purchased and with their good support have been able to get it closer to what I want.
My Front hold down chain/turnbuckle as photo below. The single turnbuckle has a 12mm lock nut so it can't loosen in transit. It is balanced pulling the shackle to the boat straight down so the boat can't move in any direction. Prior to boat launch its just one easy operation to loosen the turnbuckle and hang the shackle onto the old standard chainlinks that hang on the winch post.
I added additional wobble rollers to each side making a total of 38 rollers being 12 more than the standard version which I have also fine tuned to equalise the weight per roller as even as practical.
In the Pic below I had to add packers under the centre roller support rails where they sat on the cross members to get greater clearance for the centre rollers against the crossmembers in two locations as they weren't rolling freely. Pulled all the pins out while I was at it and greased them with triple guard grease.
There are other little adjustments and moving things around to make it work better and few little things yet to do such as replacing the centre roller pins with stainless steel when I can affor to buy the steel, plus replace all the split pins with SS type.
I have also replaced the standard MIC Bearing savers with genuine made in US Bearing Buddies, which work much better. My bearings still look and feel good with no water ingress so I will see how they go, but I think I will feel better with MIJ replacements, but I don't usually travel far so not a biggy at present.
A couple of the crossmembers were leaking at the welds and slowly filling with salt water so I have temporarily sealed them with Sikaflex and seems OK now but will probably weld them up properly one day.
Overall a good trailer though and many guys wouldn't bother or even be aware of the needs for the mods I have done, it just me being anal. So I am not being critical of it, just showing some of my mods if anyone interested.
Also don't mean to hijack your thread Trevelly just thought that it may be appropriate here and of some interest to you.
You haven't hijacked the thread - your trailer is good info for others reading this post - good on you.
The trailer is good, but with everything needs improvement.
I took your advice and put to Dunbier the lights were fitted with poor faulty wiring on one side and I would have to replace it and showed the photos. And that I had recently bought from them other accessories to add to the trailer such as the guides which work well.
The reply was I could go back to where I got the accessories and buy a replacement light.
I went one step further than I normally would bother here to give them the opportunity to make good.
I am not interested in waving this thread infront of them to push anything.
An $8K trailer and a $5 part - I would have just posted it out.
I have bought two replacements off ebay for $8 each that are better (8 LEDs and tinned wire) than the Dunbier cheapos (4 LEDs and plain copper wire) and will replace both lights. Infact I bought three and will keep one spare.
It aint worth the hassle.
JC I will also replace my rusty split pins on the boat trailer rollers with s/s - worth doing I recon.
Also I will go over the trailer and spray some cold-gal paint on the welds and cuts to the galvanised steelwork as these are starting to rust now.
Next major overhaul to the trailer will see electric Kodiak brakes added - they should take care of future maintenance issues.
As this topic is on Dunbier Trailers could someone kindly tell me what type of stud pattern they have? Ford or Holden?,my Dunbier Trailer is a 2010 model with 13 inch wheels.
I can't say with complete conviction TD but when I replaced the bearings on the stub axles the seals I used were definitely the ford ones - as you can see in the picture here they are the seals with the larger diameter hole.
Thanks Trevally!
If the seals are Ford then I can't see the stud pattern being Holden type, it would be like removing a 351 Cleveland and trying to fit a 253 Red. Thanks again!
Trev - with your spare set up rather than just mounting the spare to the boss like that- might be worth changing that to a full hub set up if you are doing some towing kms. Always handy to have the full hub/brg/seal ready to go if something comes undone and despite all maintnenace sometime the proverbial just happens.
Looking good though. How do you find that solo catch system? The other one looks far simpler for solo use but I cant mount it on my sealink due to the winch post set up.


 Reply With Quote


 .
.


 Thanks again!
