-
Ausfish Bronze Member


2/0 penn 111 rebuild
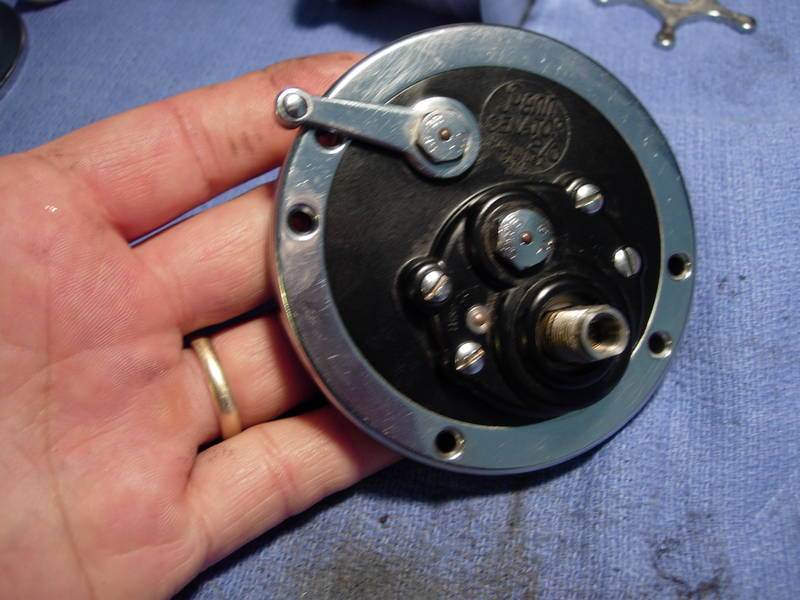
here's a real gem. not many of them left. they are still used by northern california salmon fishermen to drag 2.5 pound lead balls on sinker releases. the low gear ratio makes this reel well suited for that purpose.
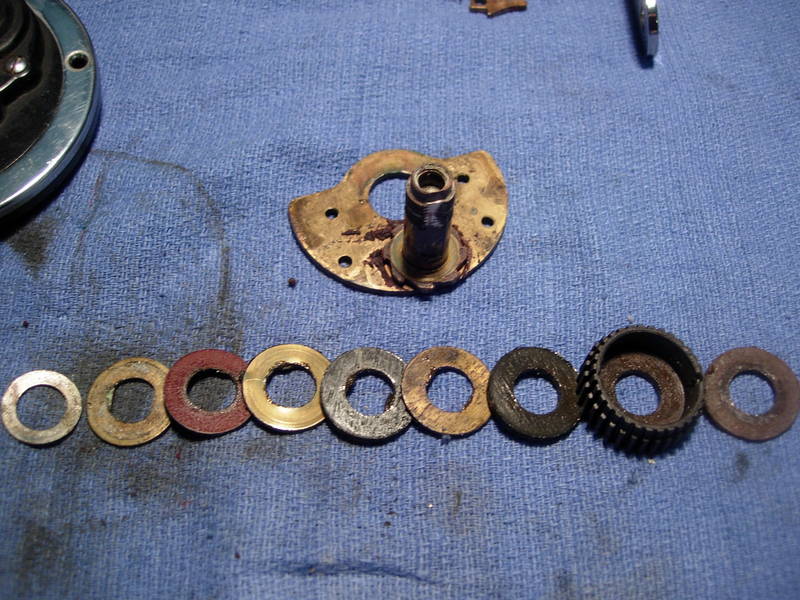
this particular reel still has the original handle, a brass gear sleeve and a stack of three old drag washers. what i'm going to do is install a new stainless steel gear sleeve from pennparts.com, a penn jigmaster power handle and i'm going to change the drag stack from "1+3" to 1+5". the greater number of drag washers will deliver more drag range and the stainless steel gear sleeve and larger handle will allow us to crank under this heavier load.

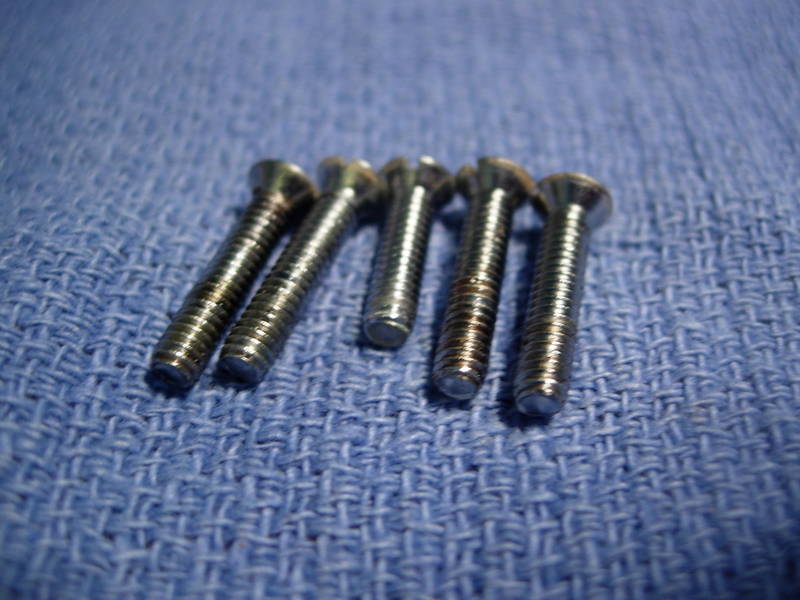
if you are considering a full conversion like this, bear in mind that you will have to dremmel out the side plate a little. if you wish to simply upgrade the drag to a "stock" configuration, you will need a fiber washer under the gear (part #4-60) and three carbon fiber washers inside the gear (part #6-113). our full upgrade requires one #6-113 drag washer under the gear, five #6-60 drag washers inside the gear, a full set of five #7C-60 metal washers, a #24-56 jigmaster power handle, a #98-60at stainless steel gear sleeve, and, most importantly, and couple of extra #14-99 dog springs. go here for a schematic and a list of parts.
http://store.scottsbt.com/111-20-Sch...12269C177.aspx
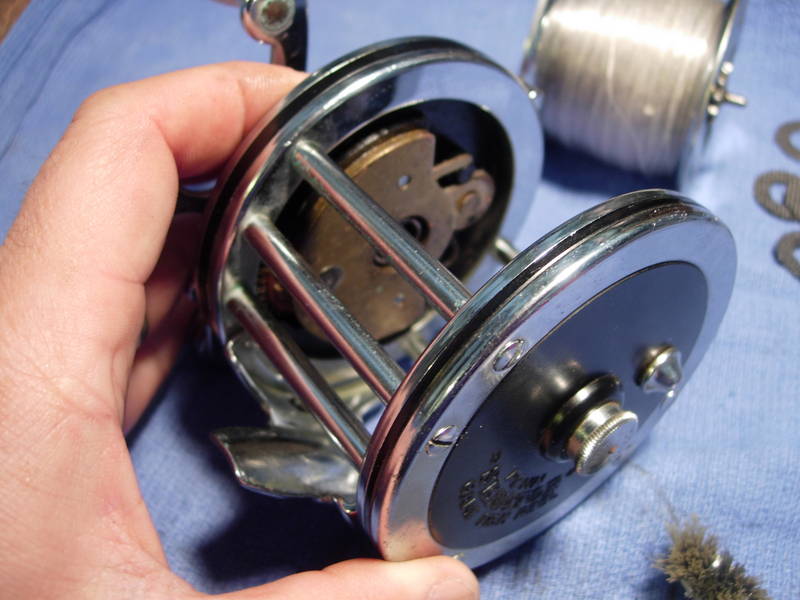
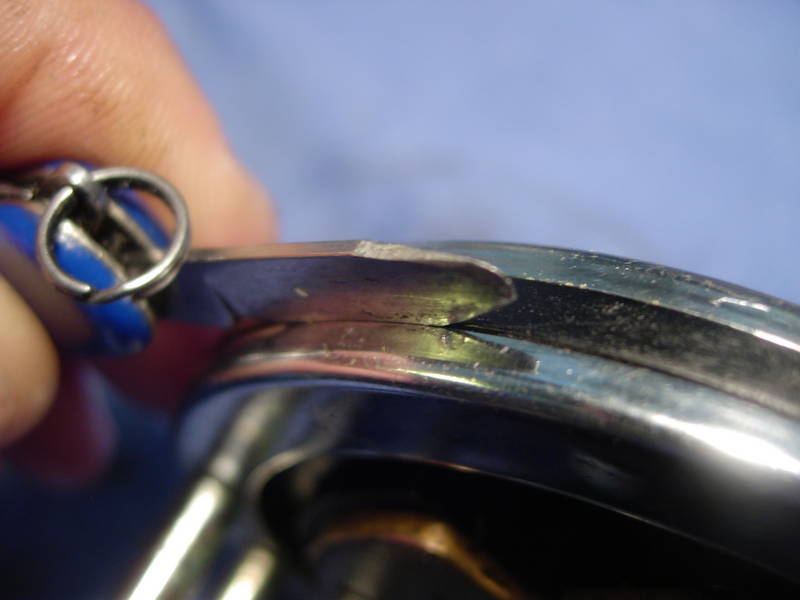
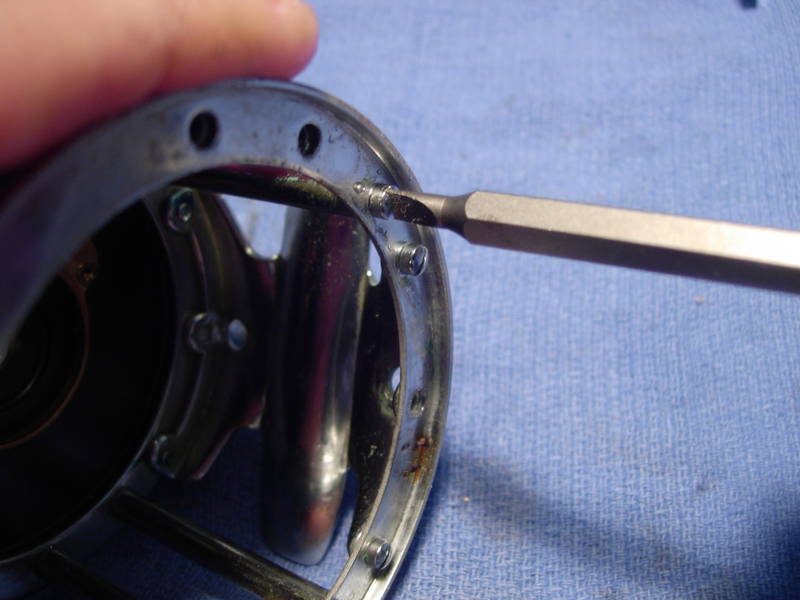
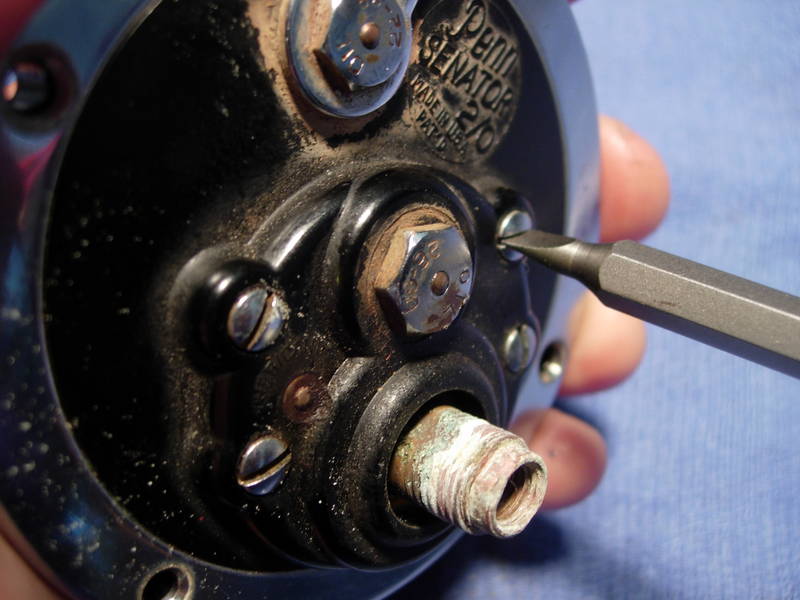
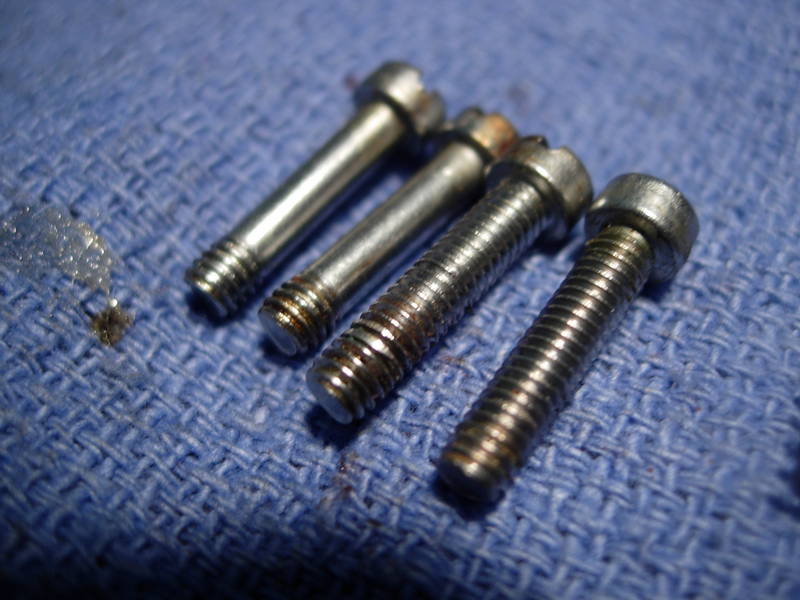
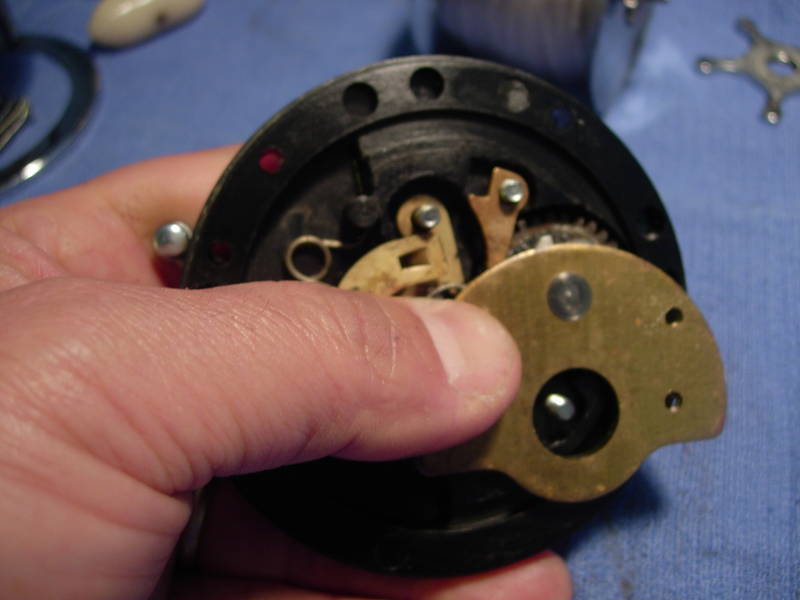
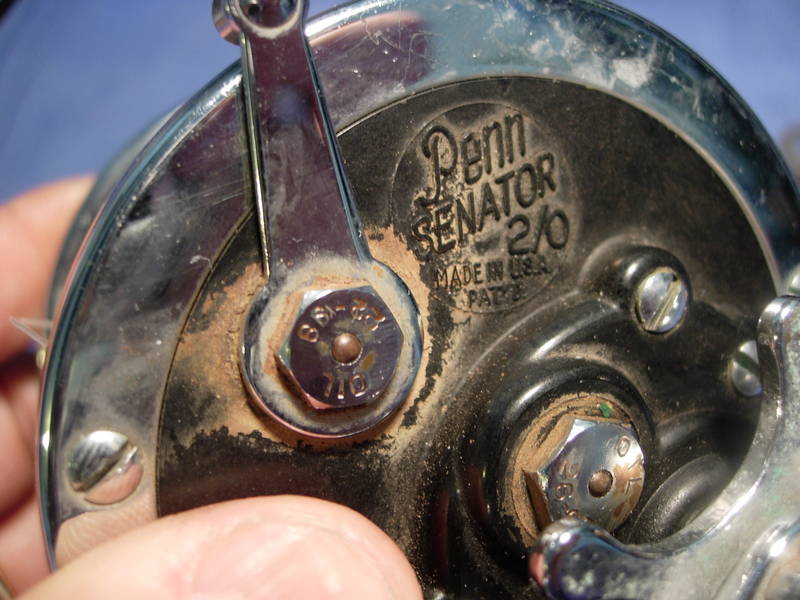
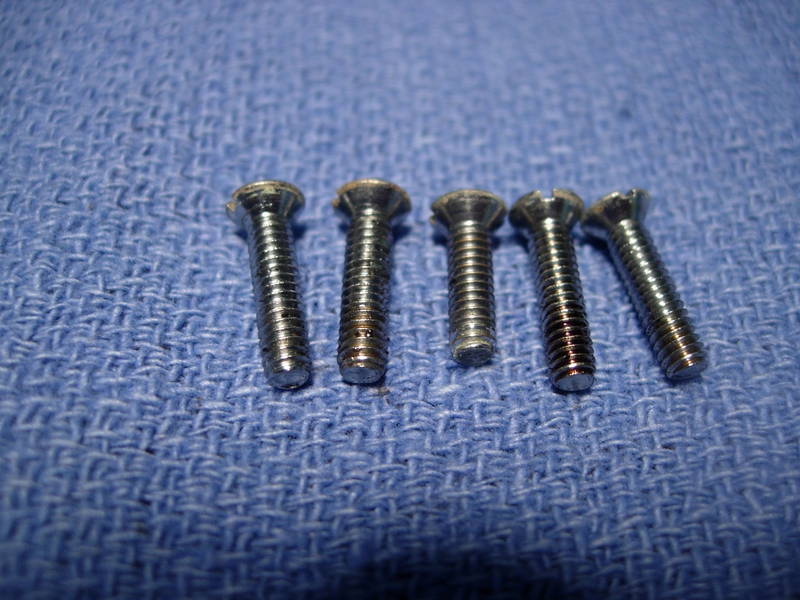
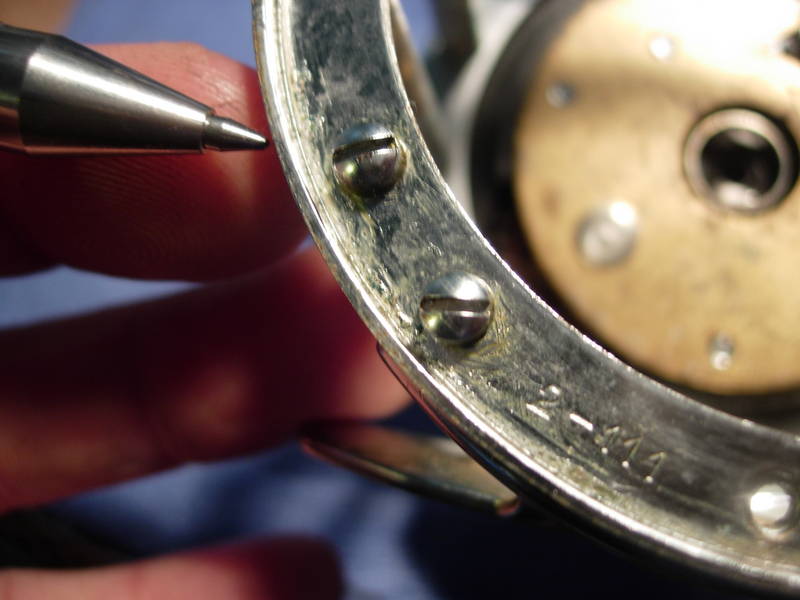
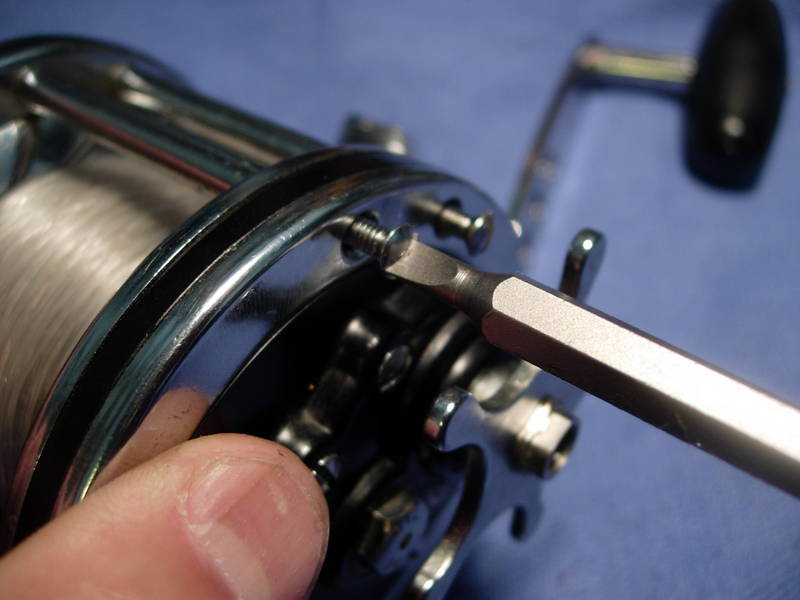
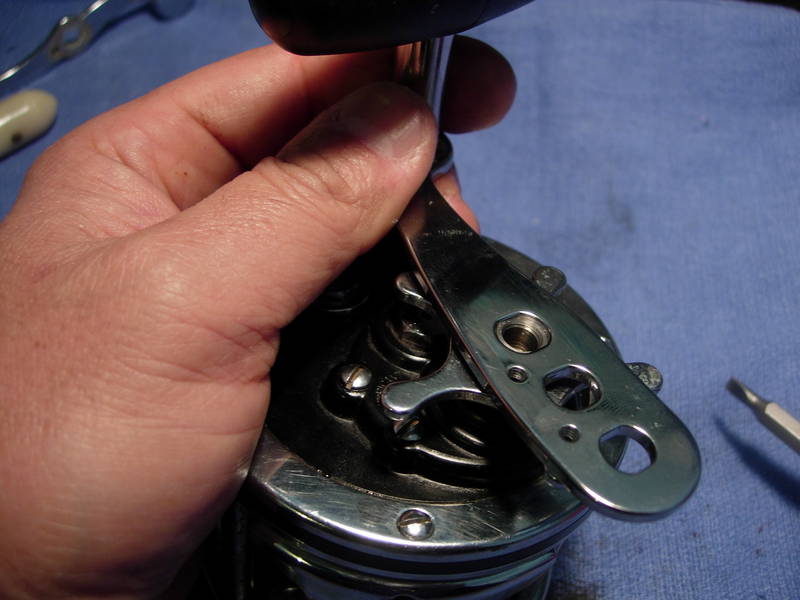
ok, let's crack it open. start with the left side plate screws (key #'s 39 and 39a). remove the left side plate (key #27).
note the different length of the bottom screw (key #39a).
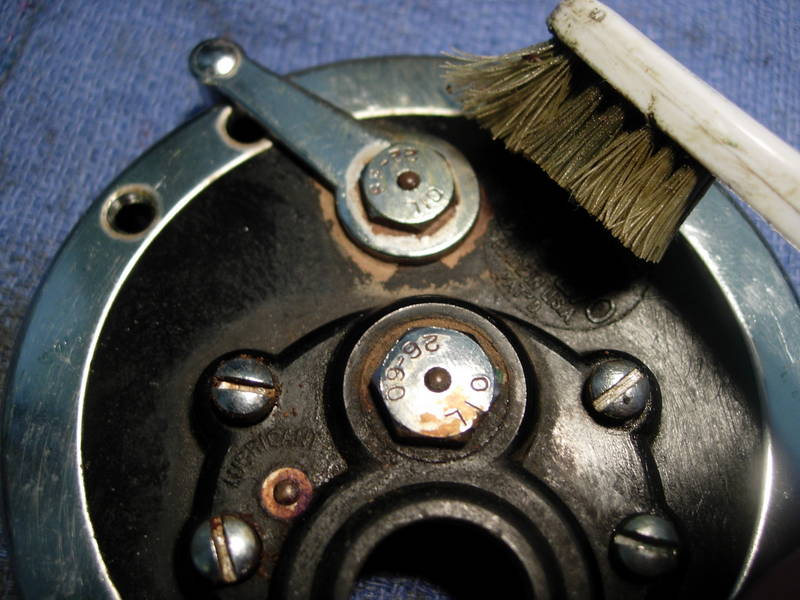
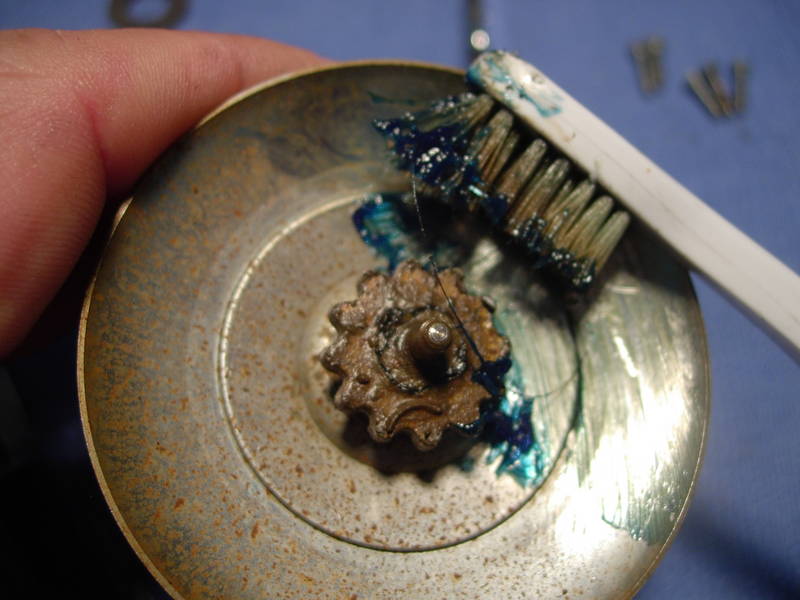
the clickers of these older reels are riveted in and they rust. it really makes a mess.
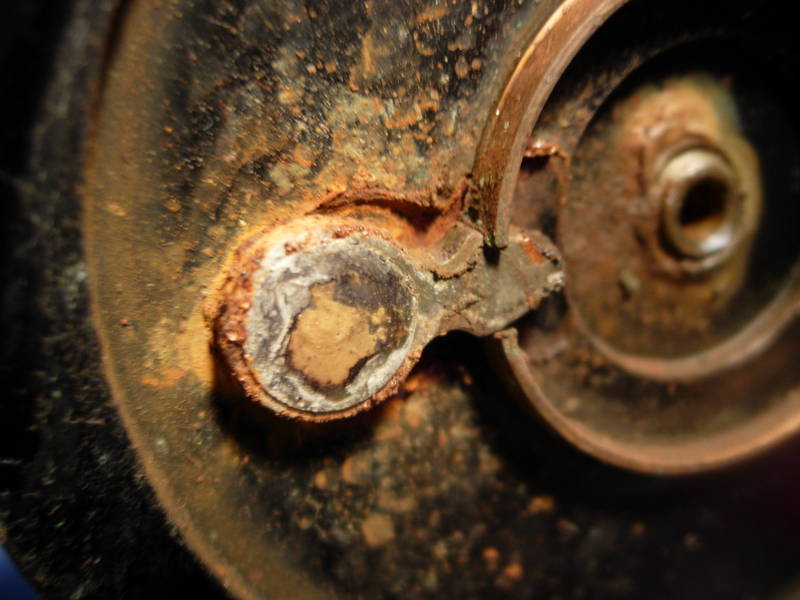
the rust gets everywhere.
normally what i'd do is throw everything into the ultrasonic cleaner for a couple of hours. that won't help you, so let's just clean it up with an old toothbrush and a little grease.
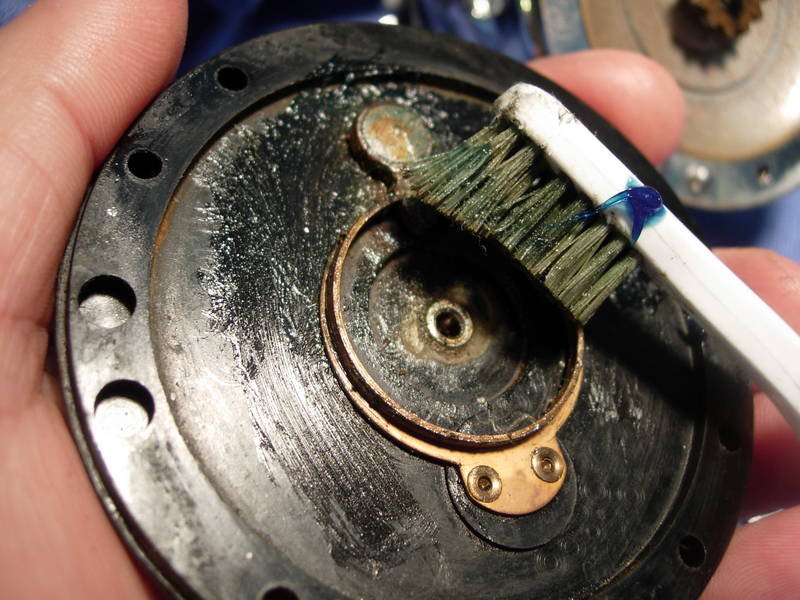
a little yamaha elbow grease works works wonders.
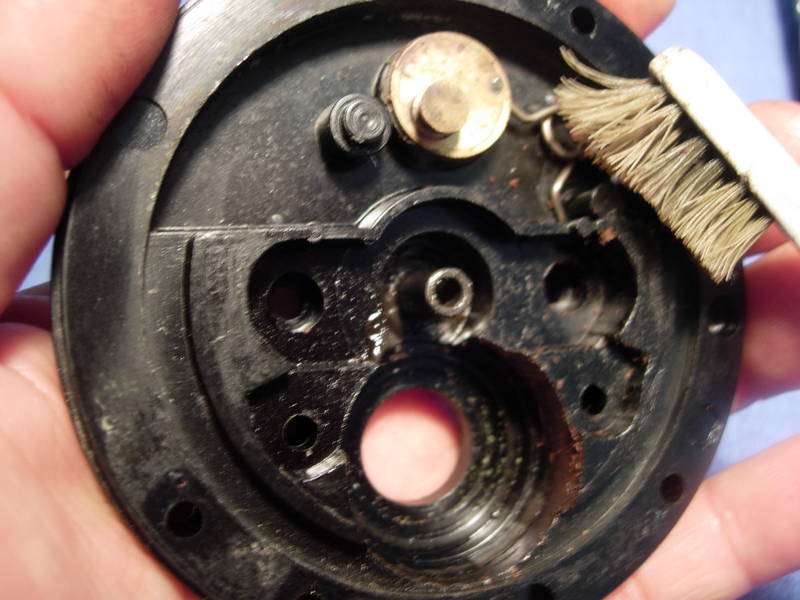
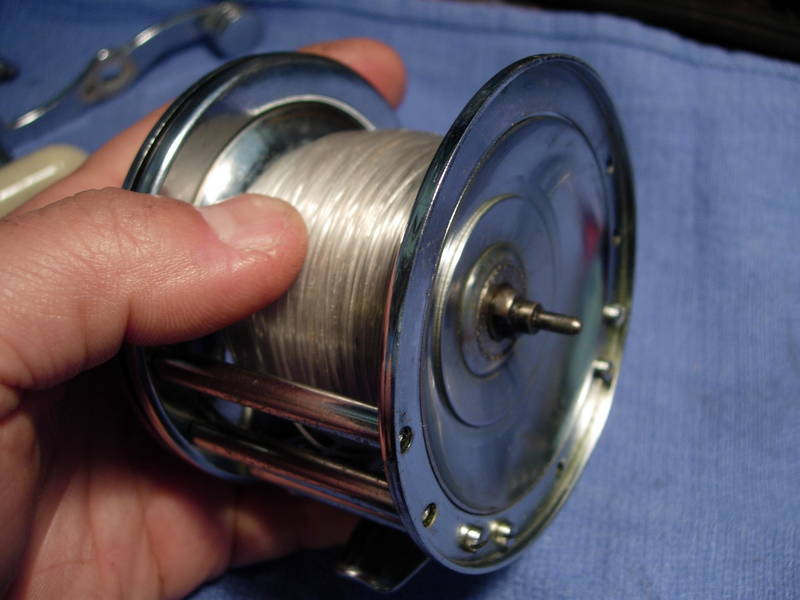
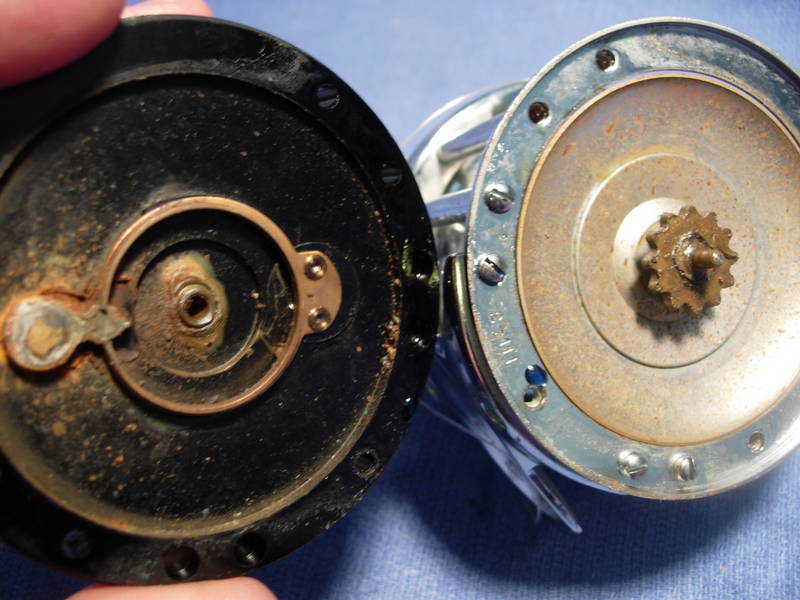
same with the chrome-over-brass spool (key #29).
there! big improvement and it now has a light coat of grease that will slow down further corrosion.
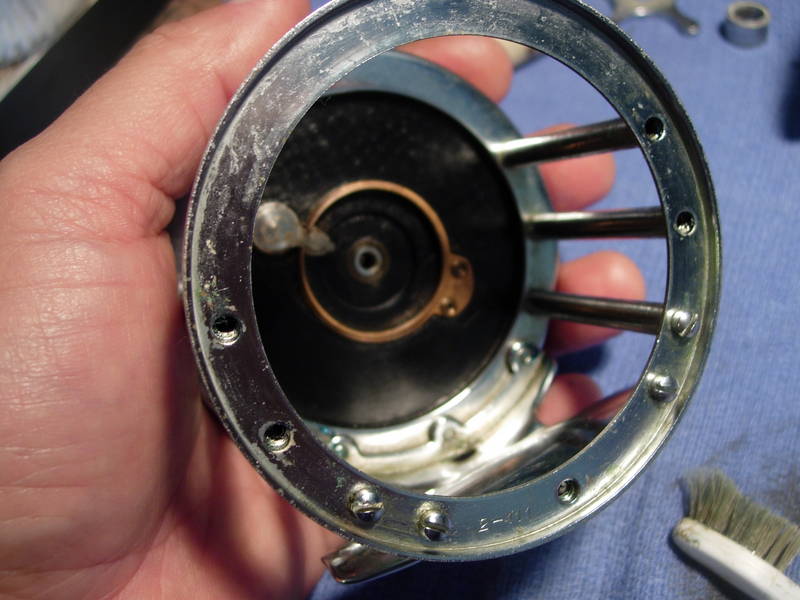
take a moment to clean up the stand (key #30) and frame posts (key #37).
let's back out, grease and reinstall the inner stand screws (key #38a) and inner post screws (key #32).
-
Ausfish Bronze Member
-
Ausfish Bronze Member
Re: 2/0 penn 111 rebuild
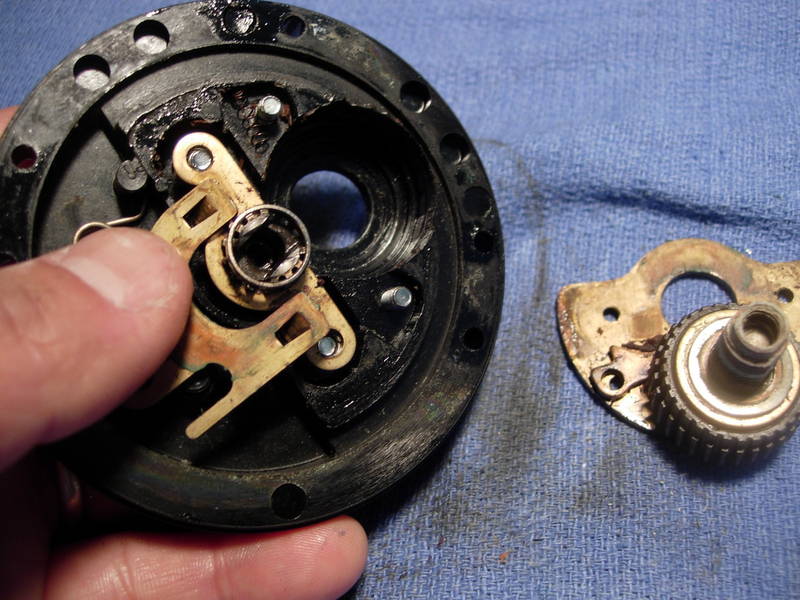
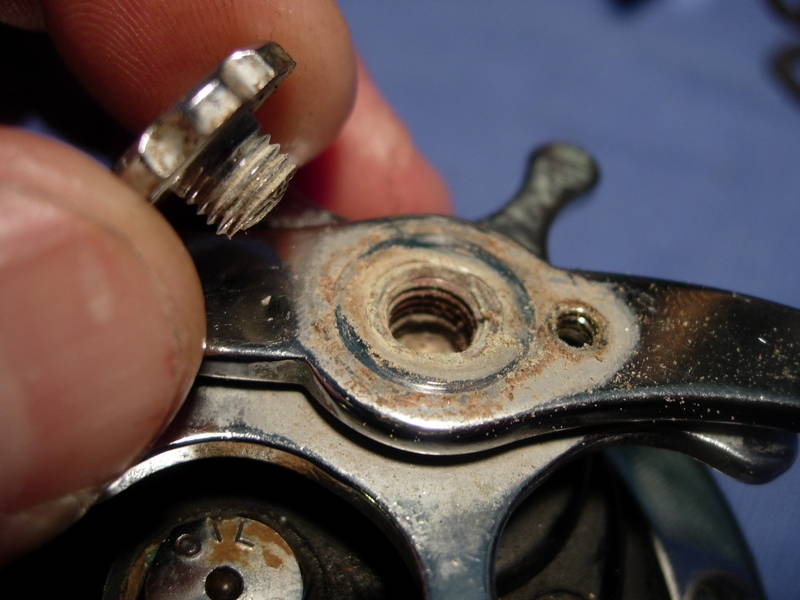
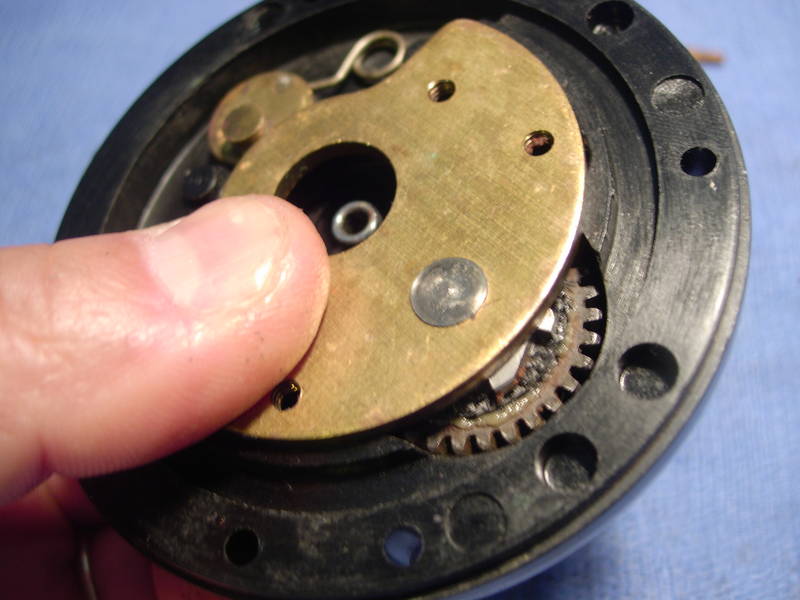
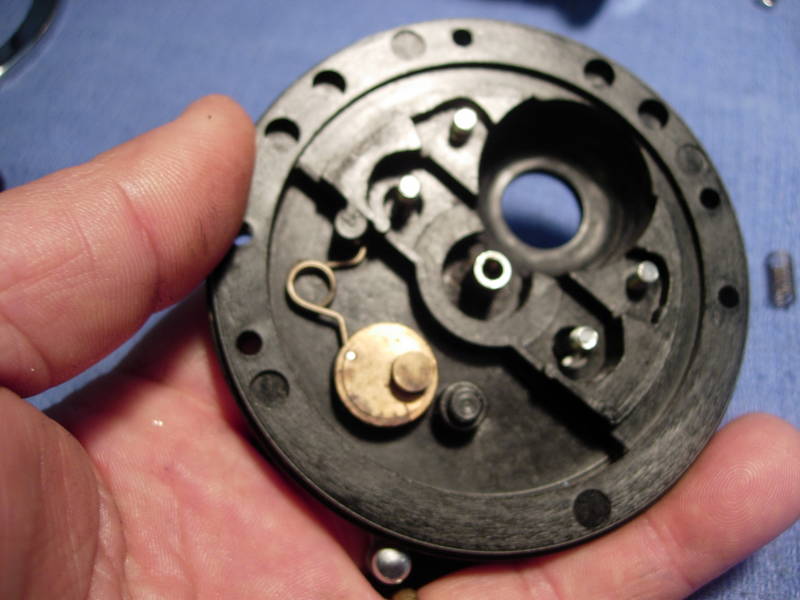
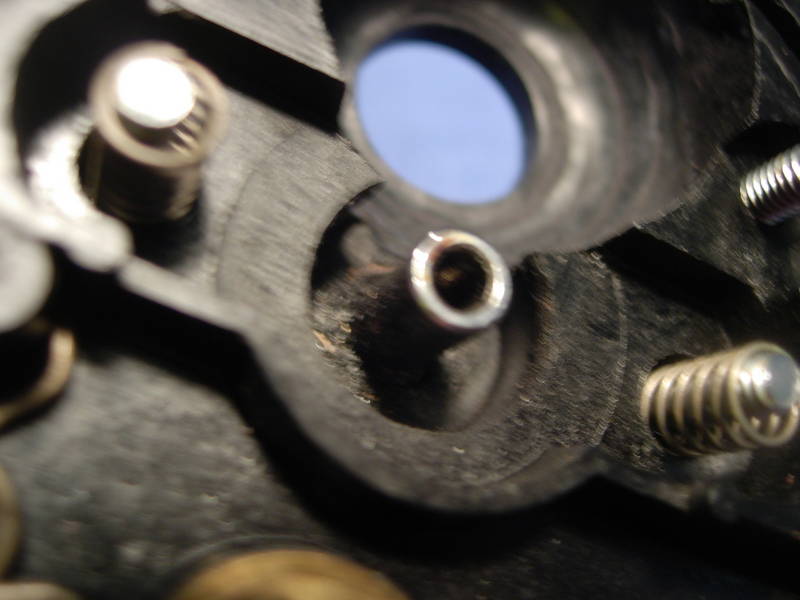
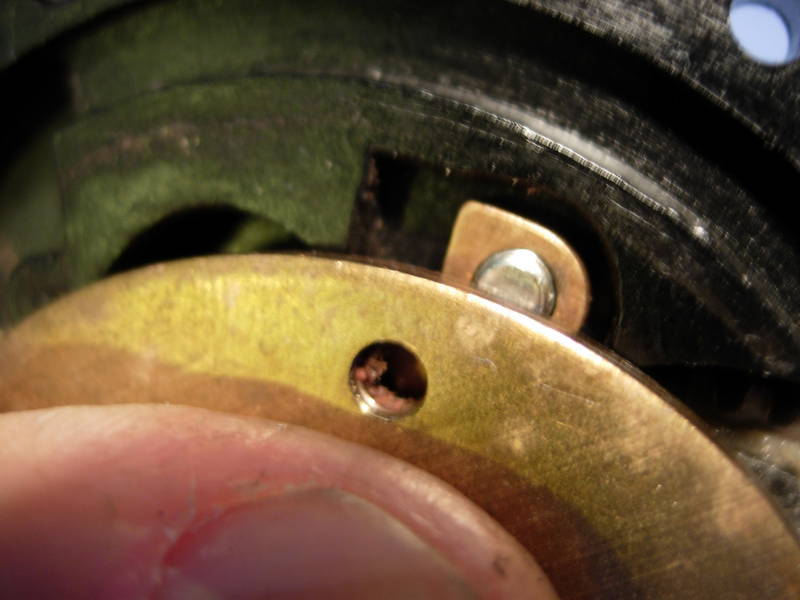
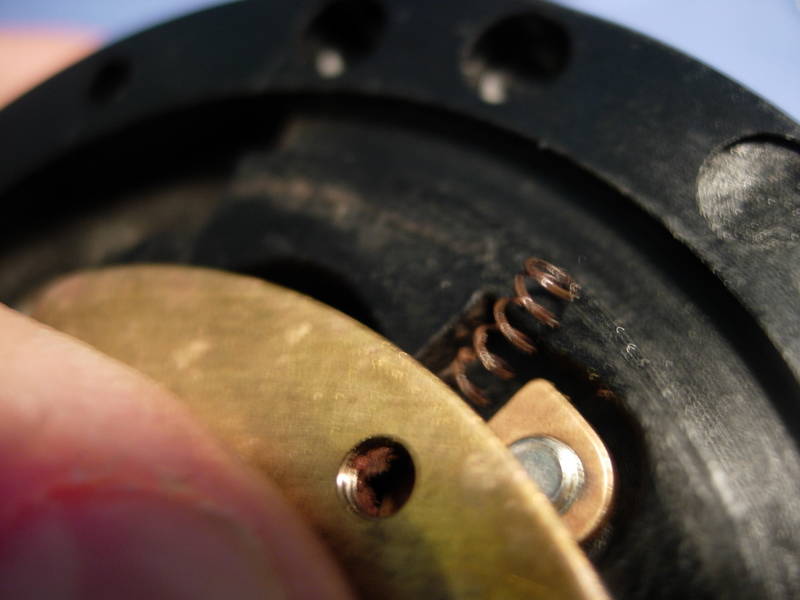
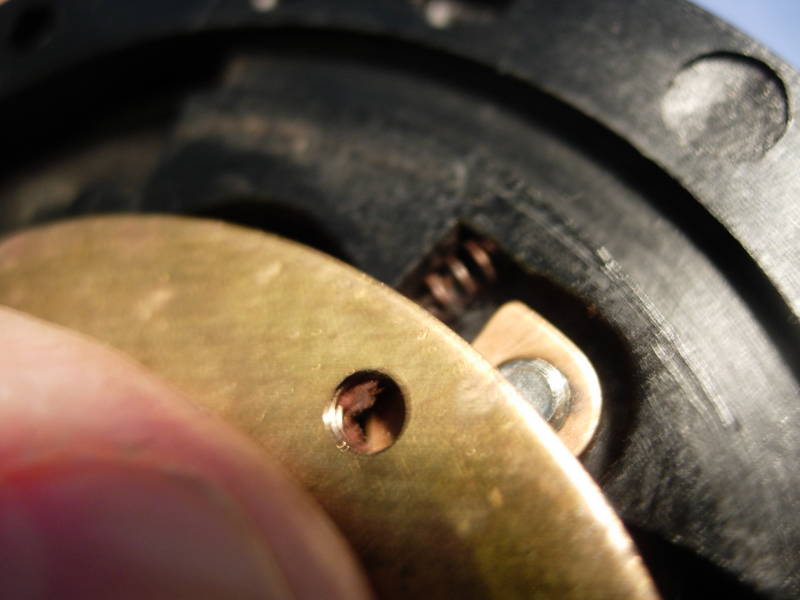
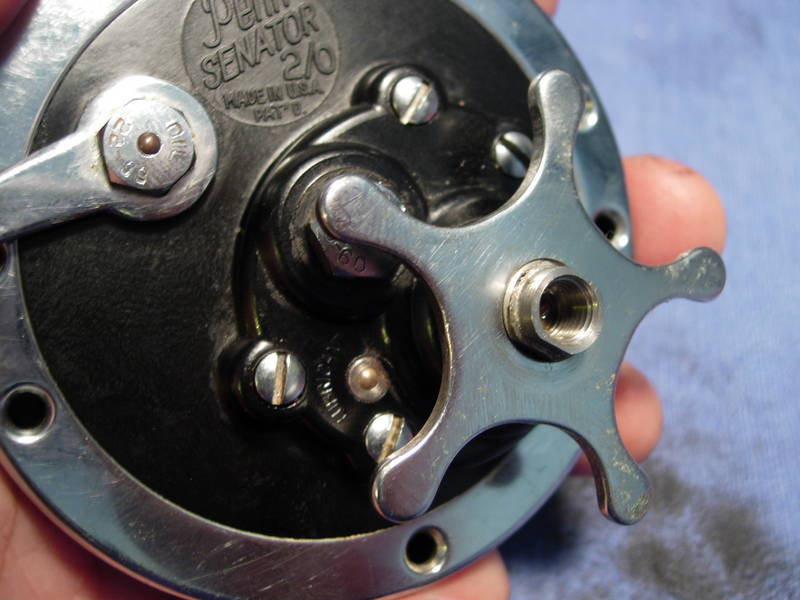
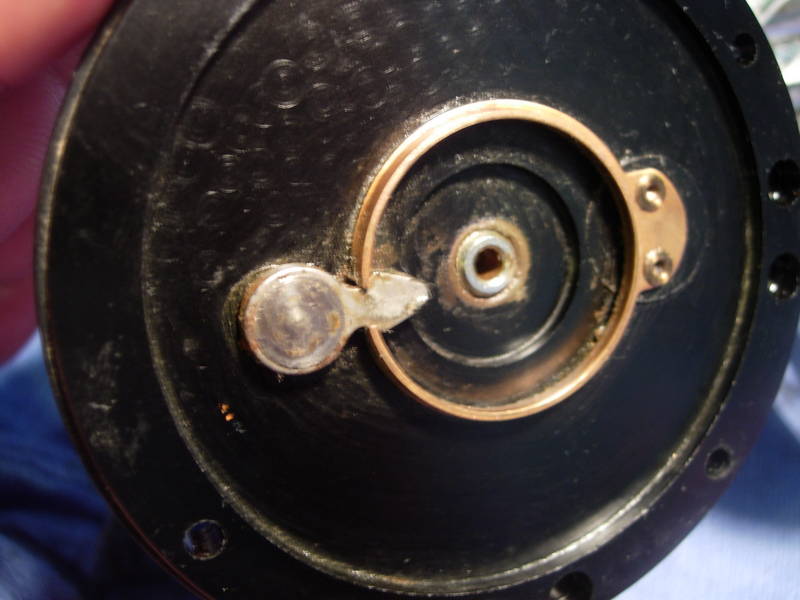
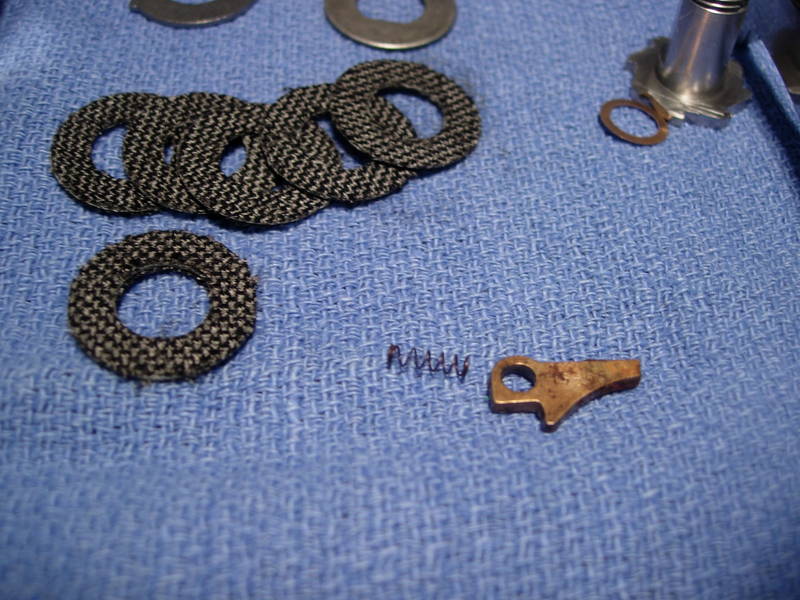
the first thing you are looking for is the dog spring (key #14).
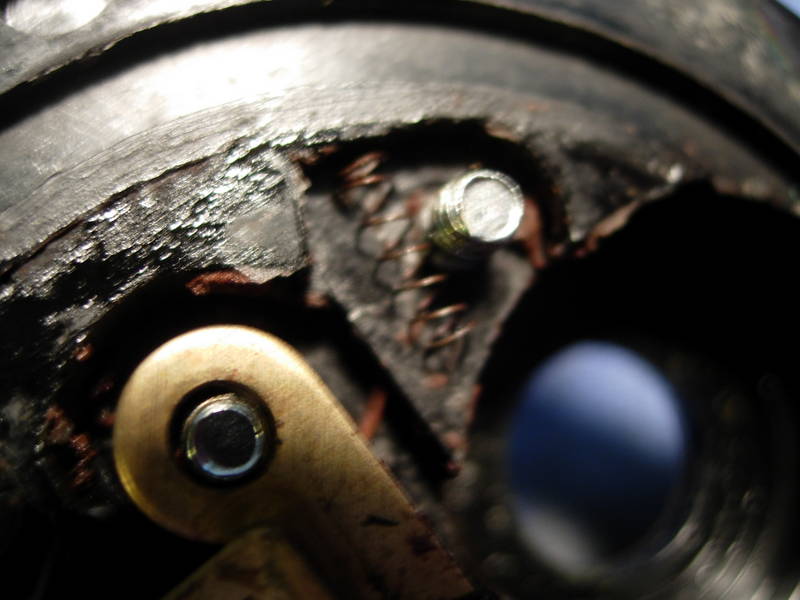
find the dog (key #15).
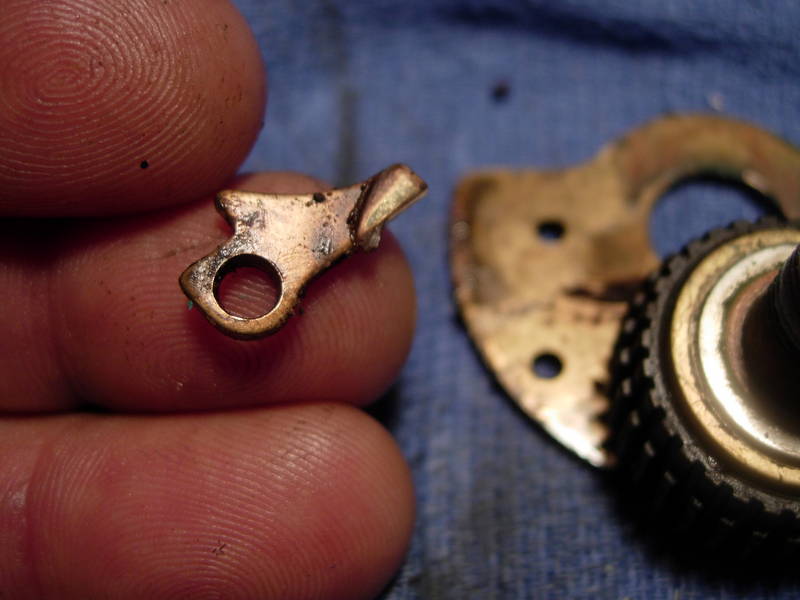
set them both aside, someplace safe.
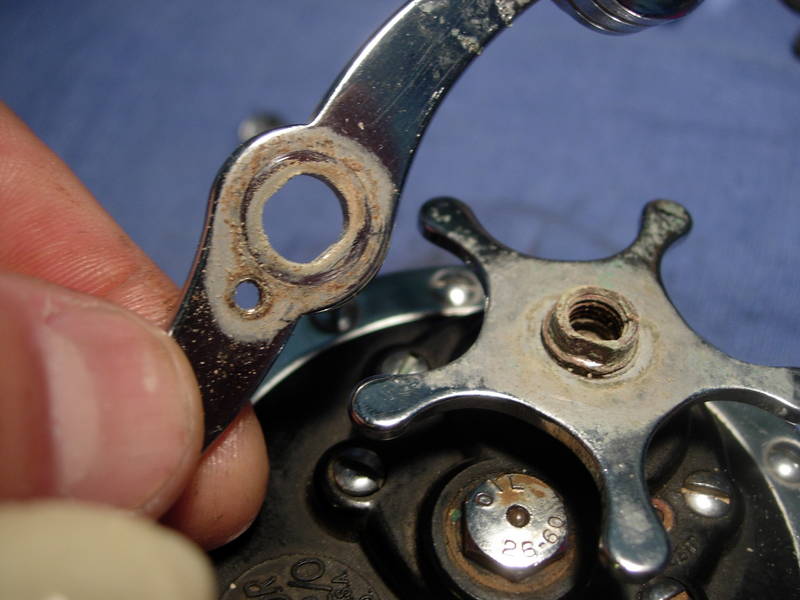
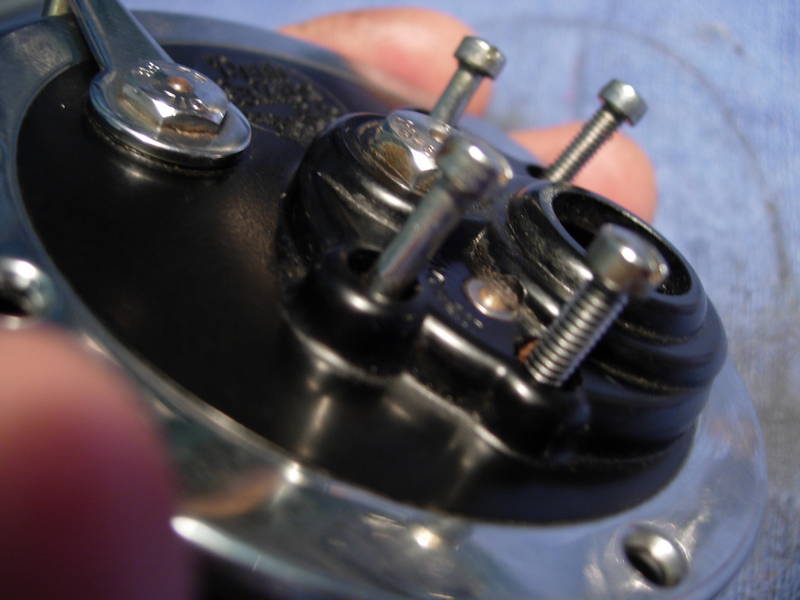
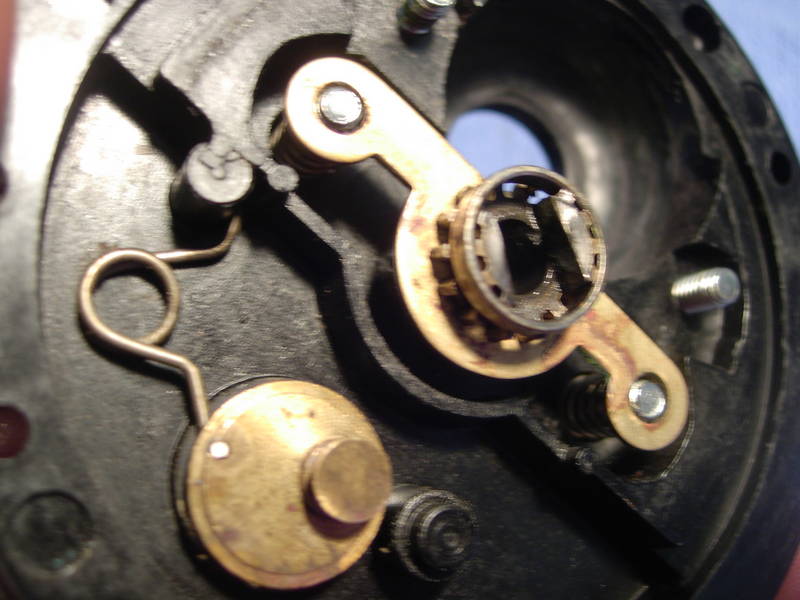
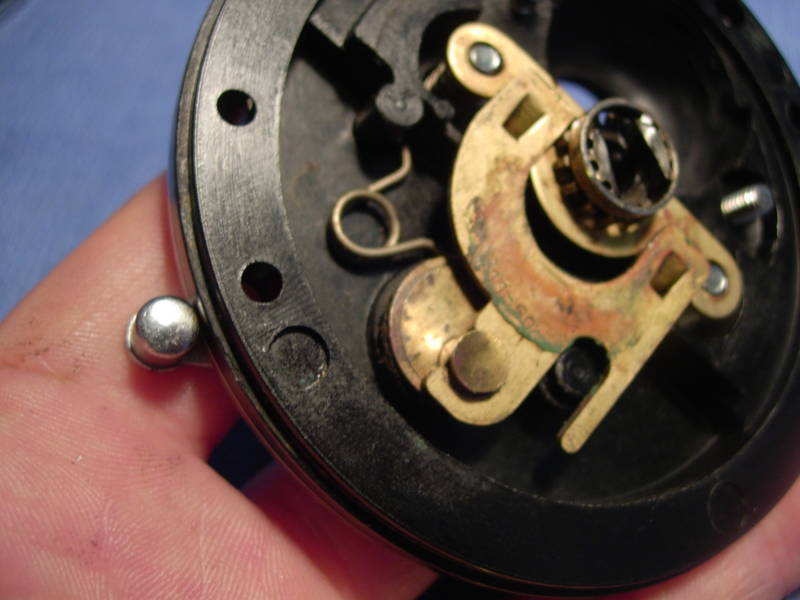
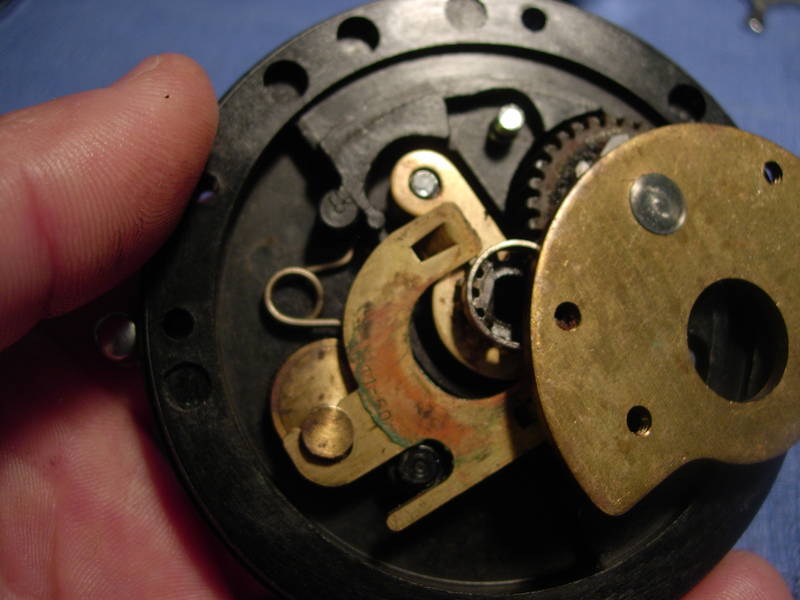
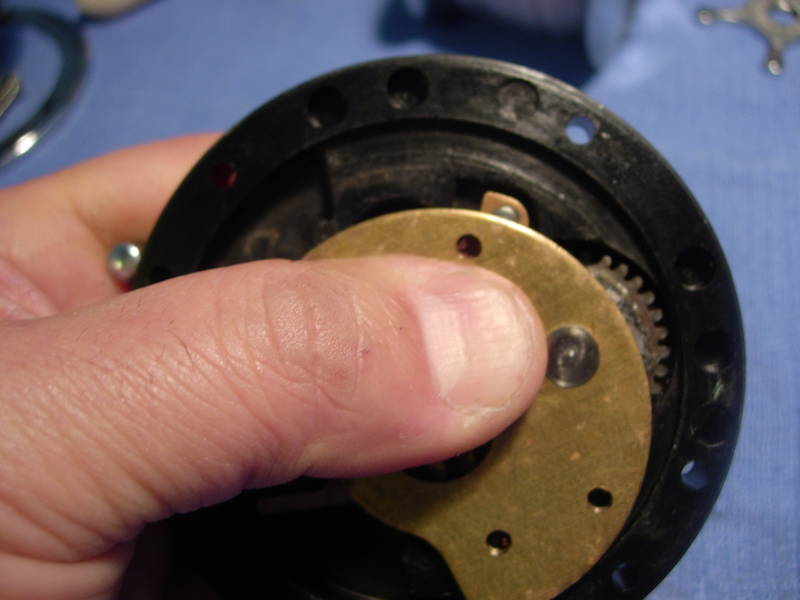
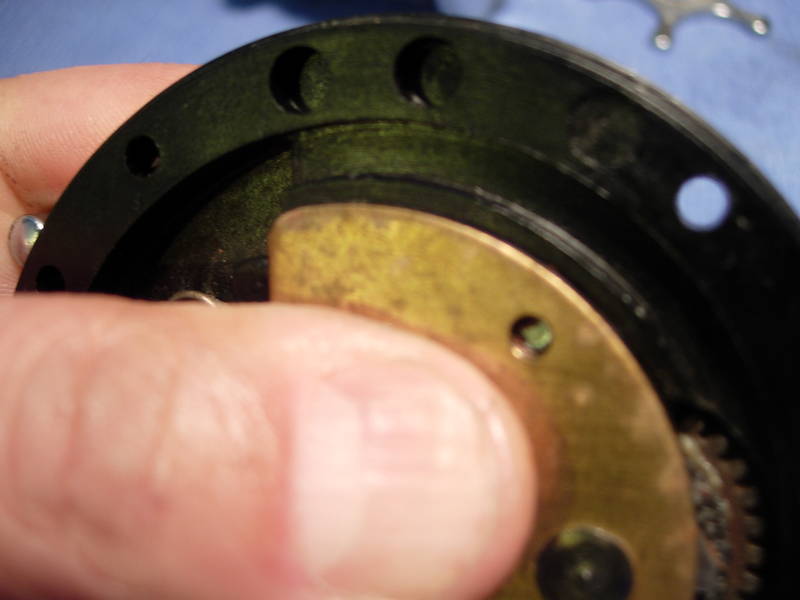
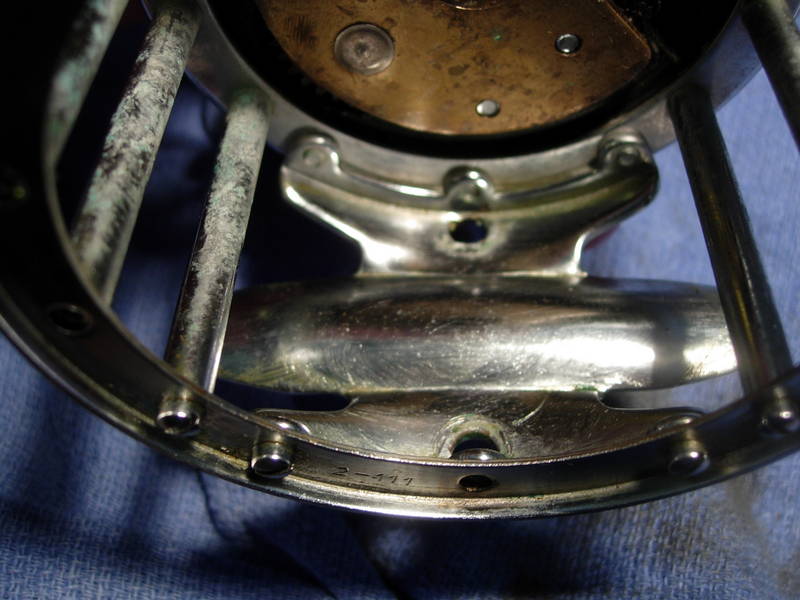
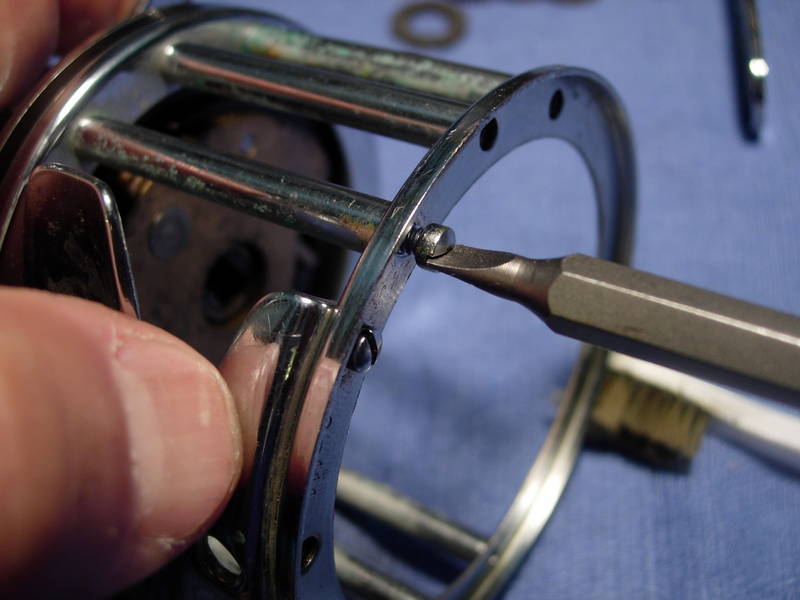
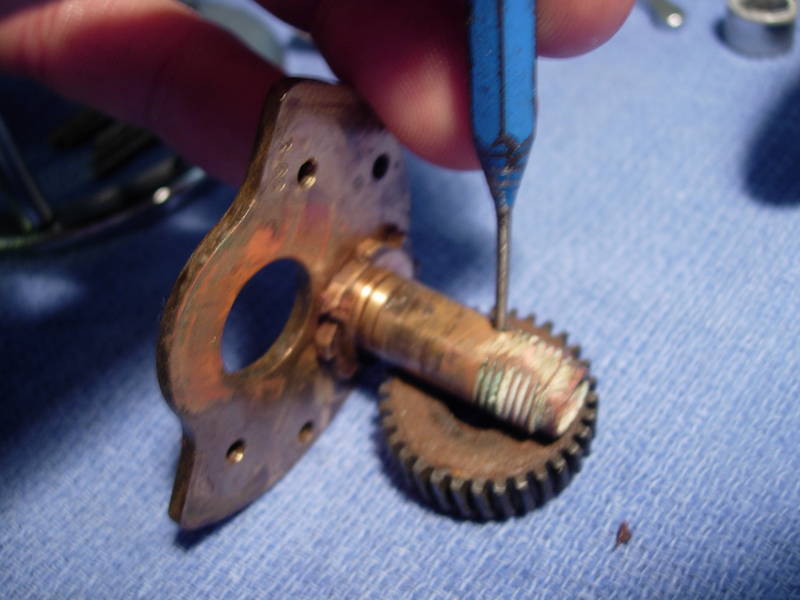
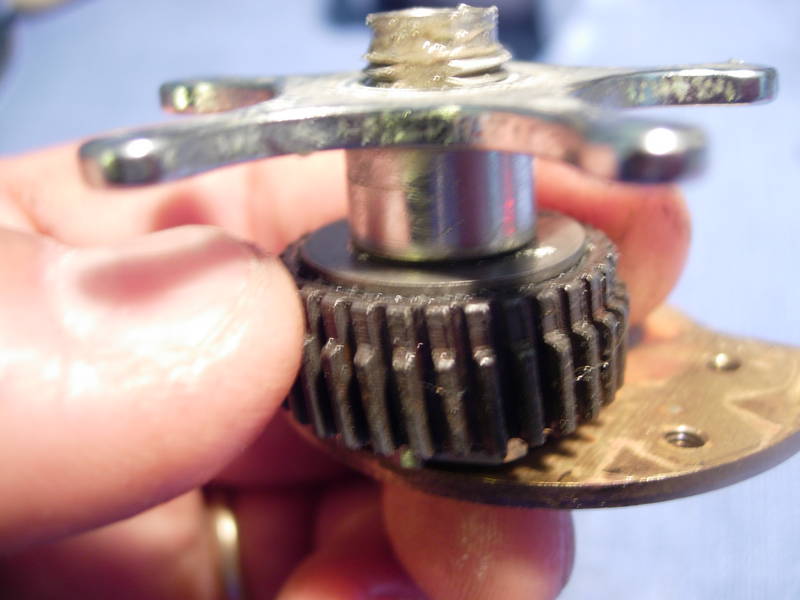
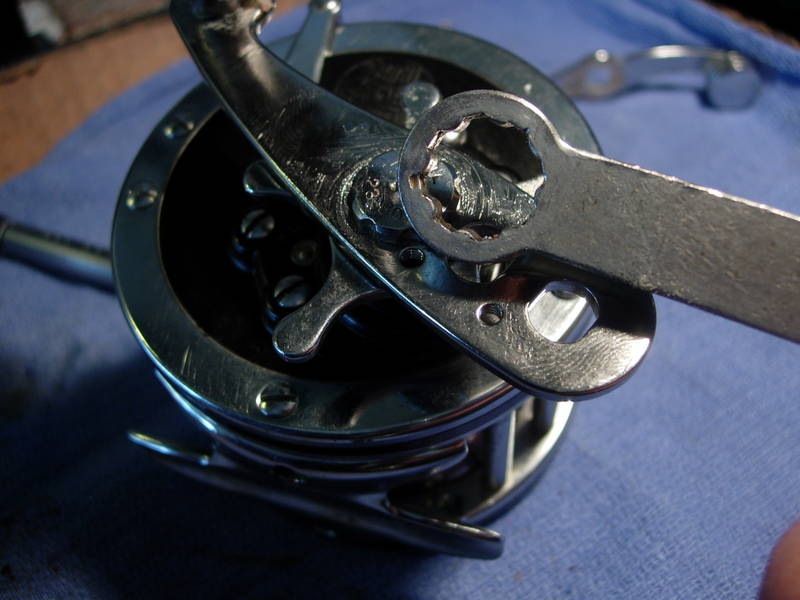
now for the brige assembly (key #'s 98 and 3-8).
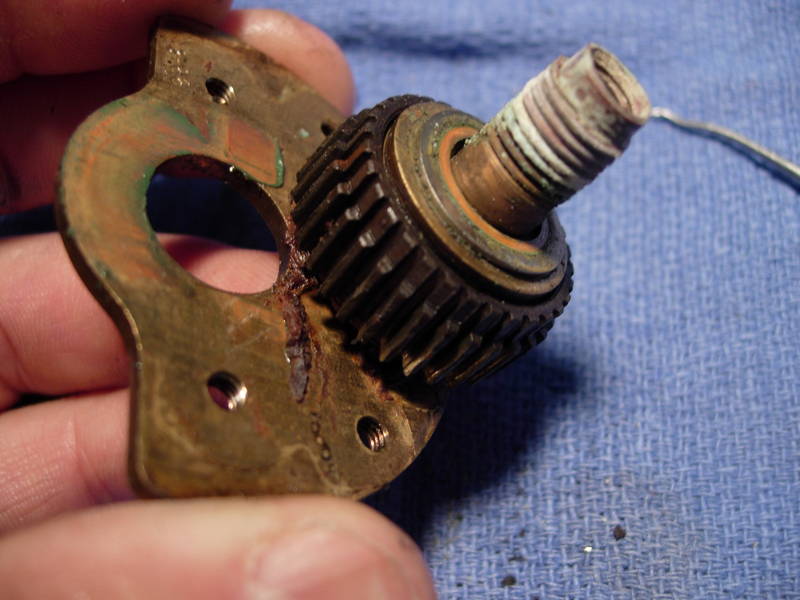
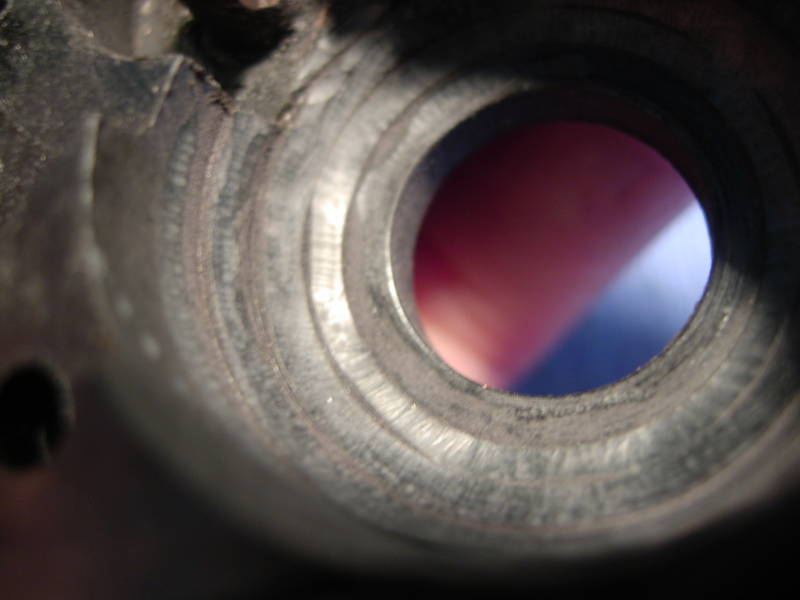
if you have trouble removing the main gear, try giving the flat sides of the gear sleeve (key #98) a couple of strokes of a flat file. this usually works.
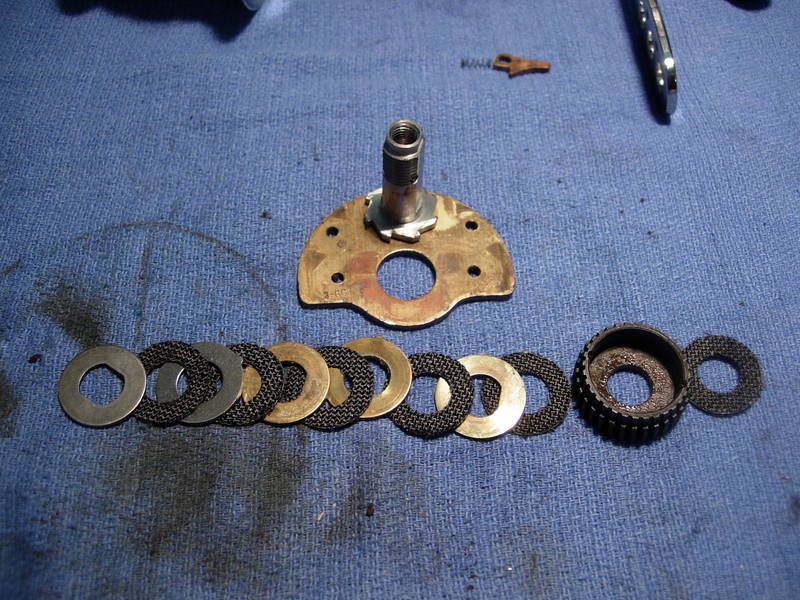
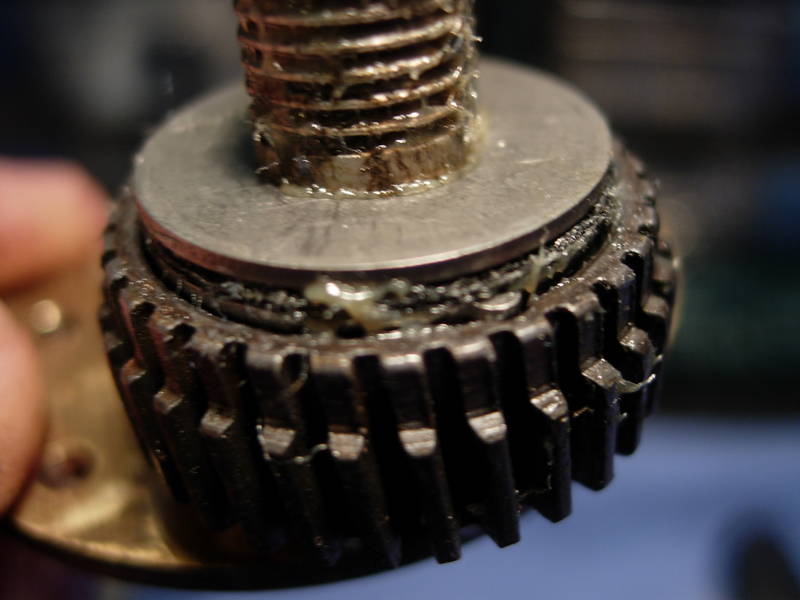
the drag stack was pretty much fused together. only one metal drag washer was functioning. yeah, it was the shiny one.
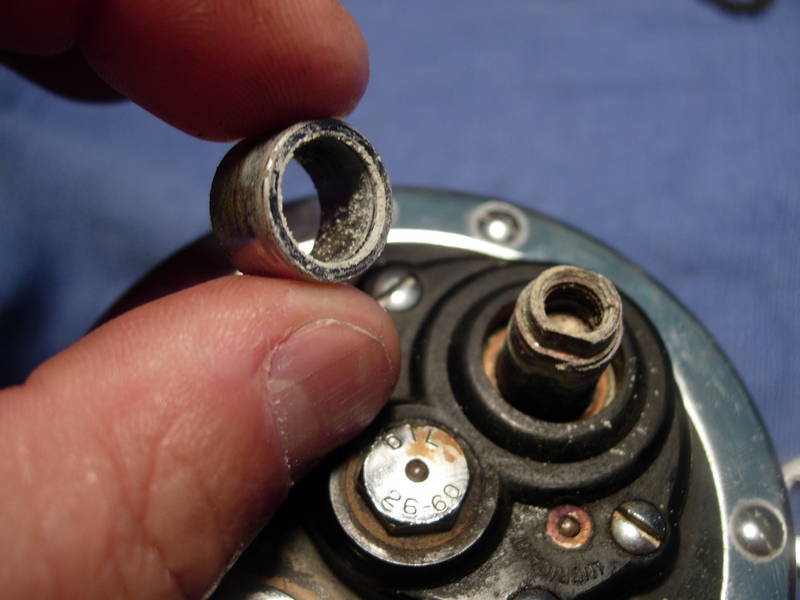
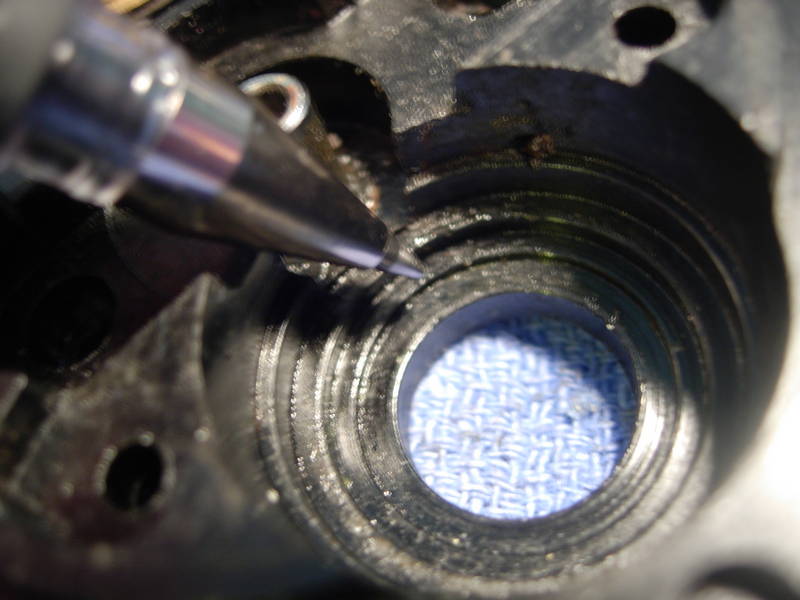
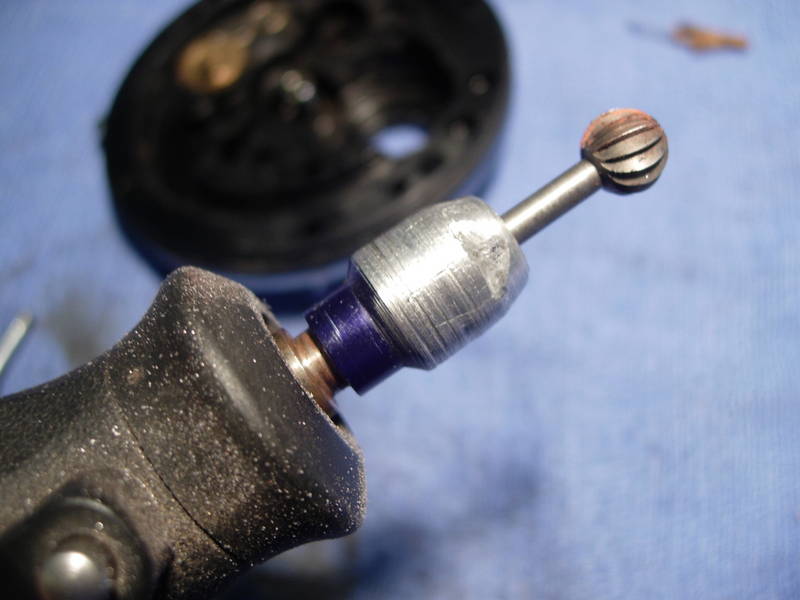
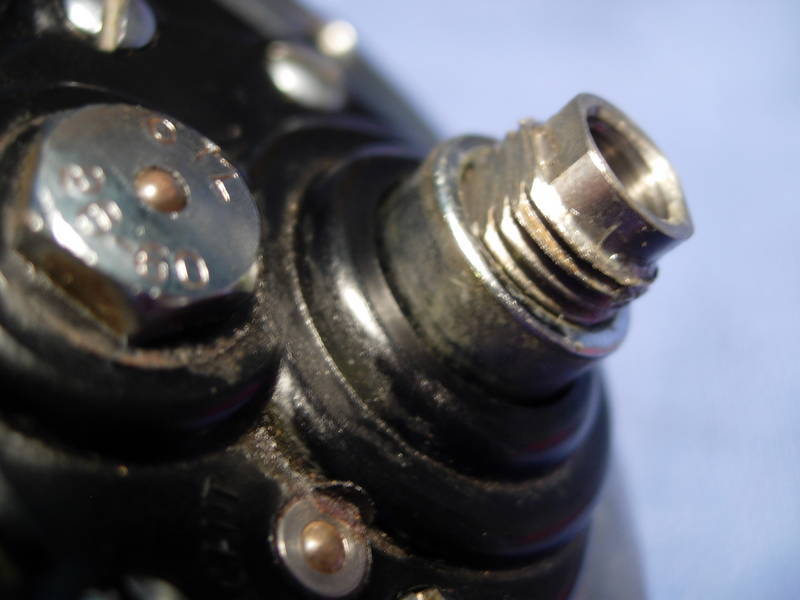
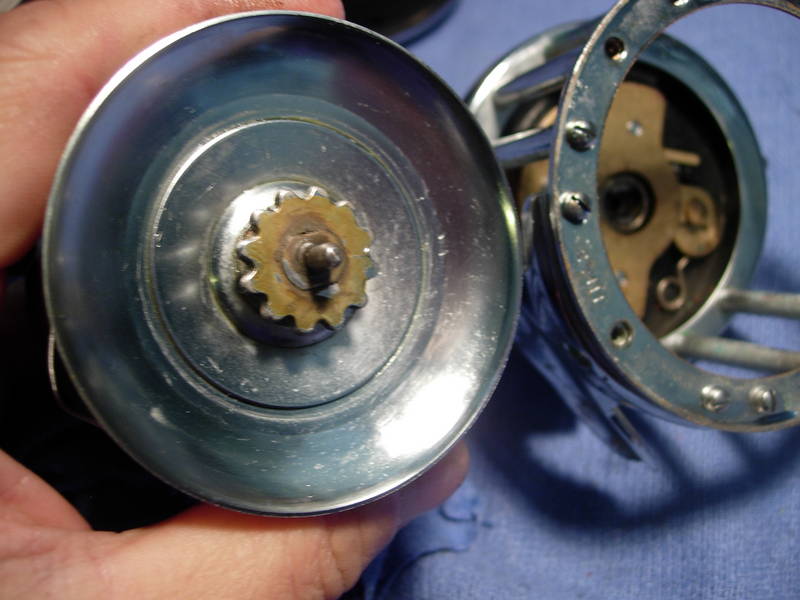
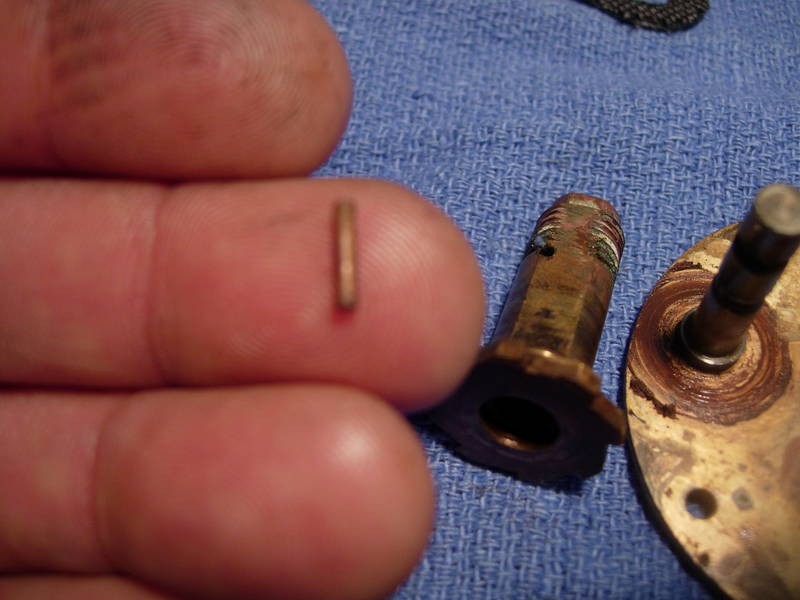
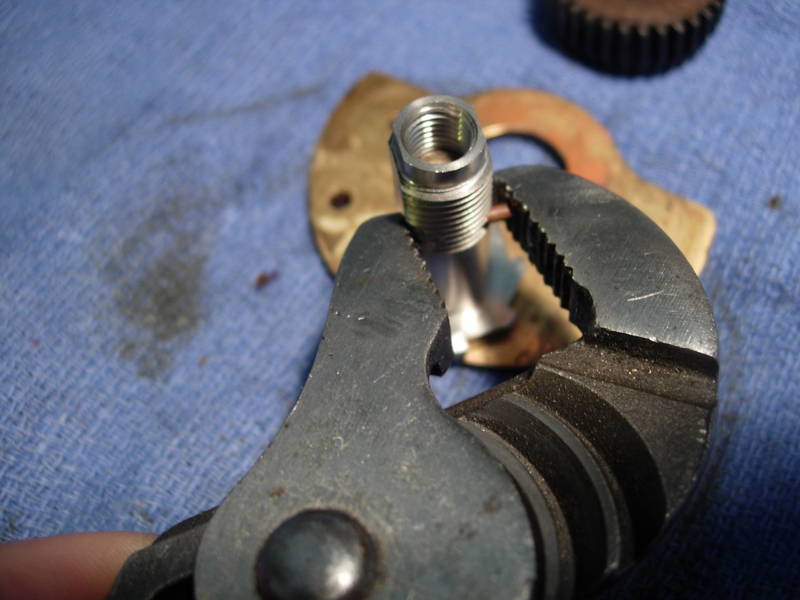
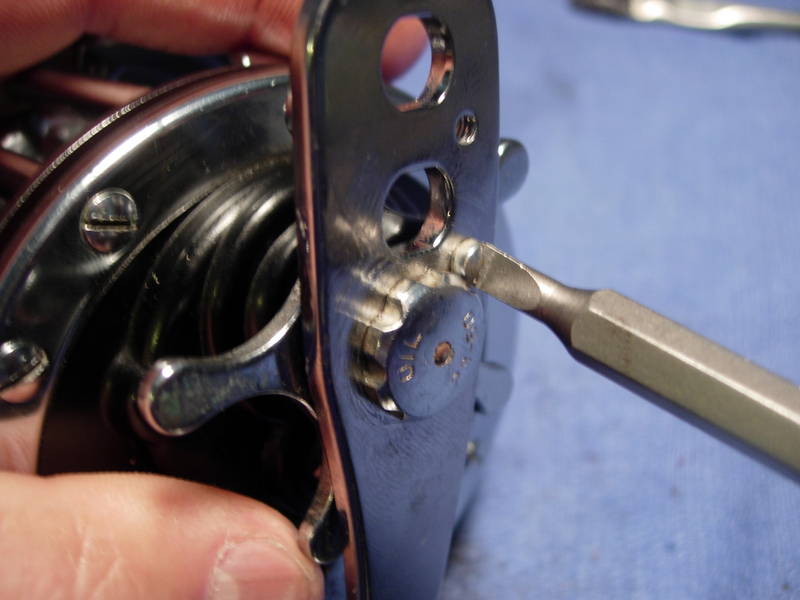
we need to punch out the brass pin holding the gear sleeve in. a small punch works well for this. some can just be pushed out, some need to be hammered. all i did was lean on this one and it slid right out.
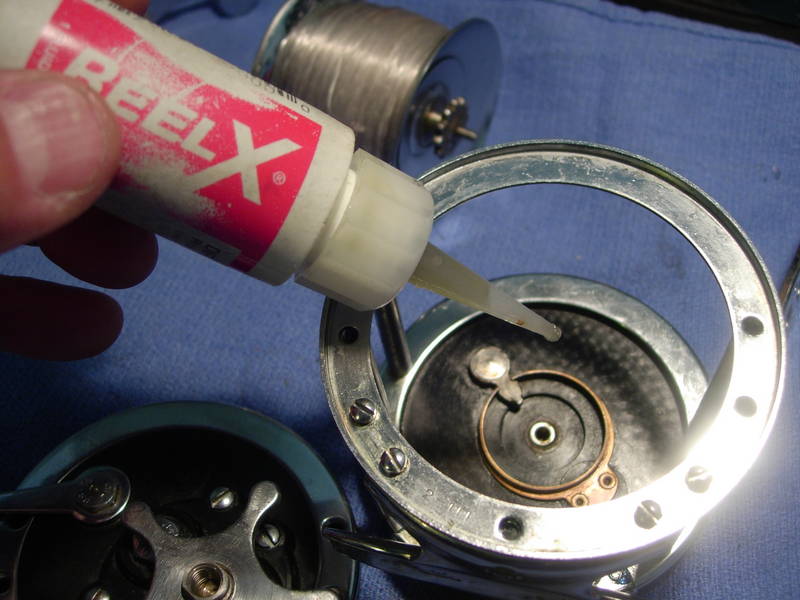
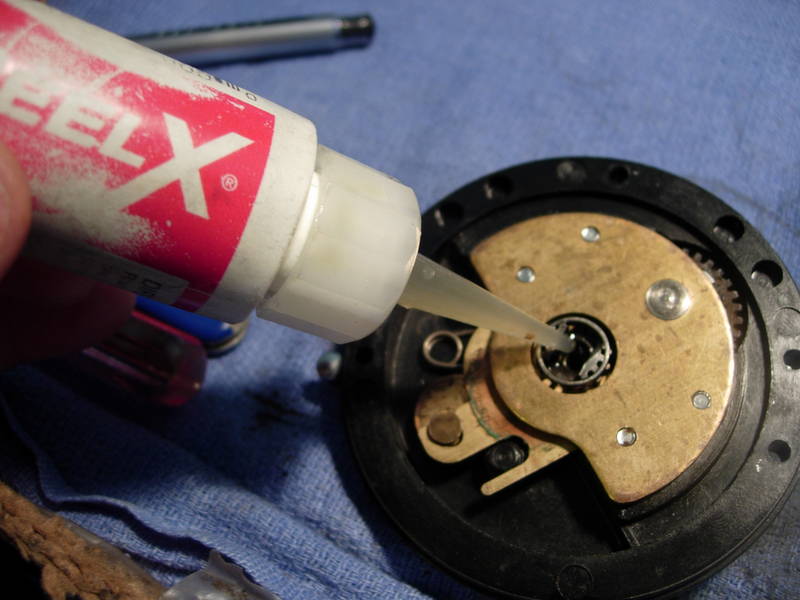
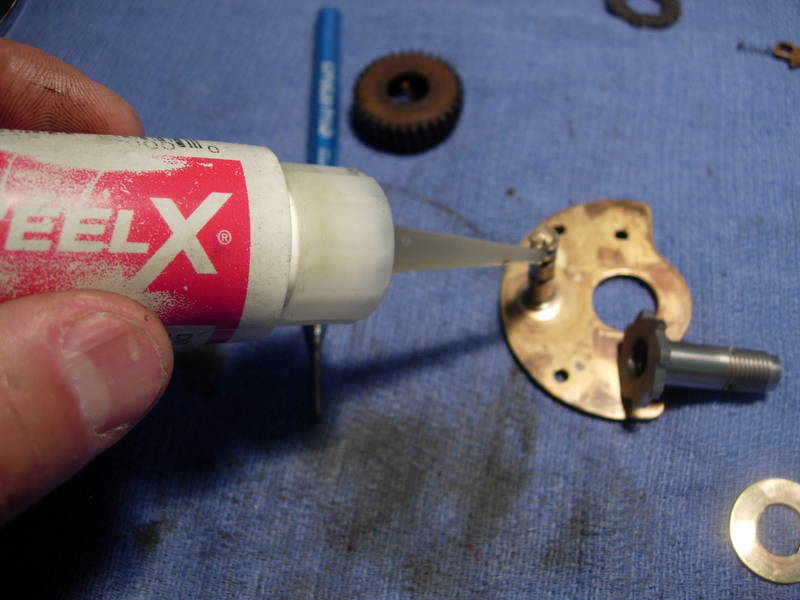
corrosion x (in a reel x bottle) works well here.
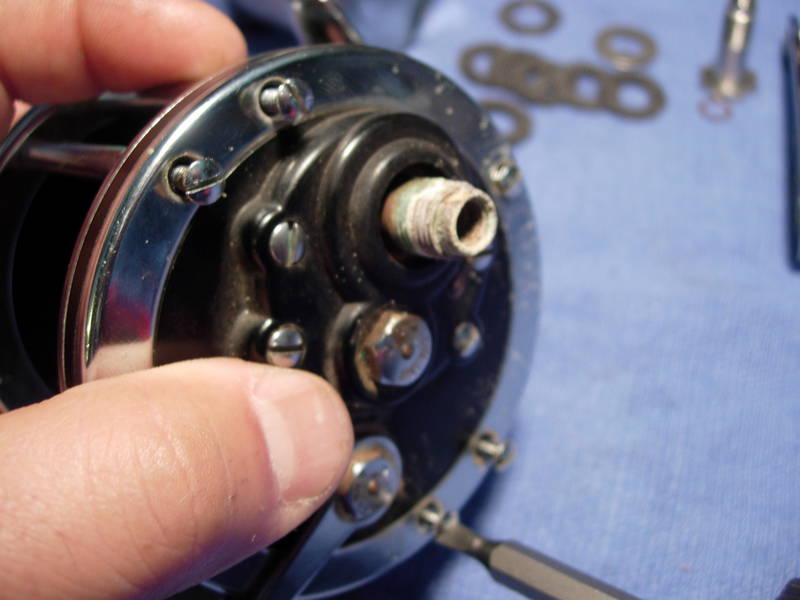
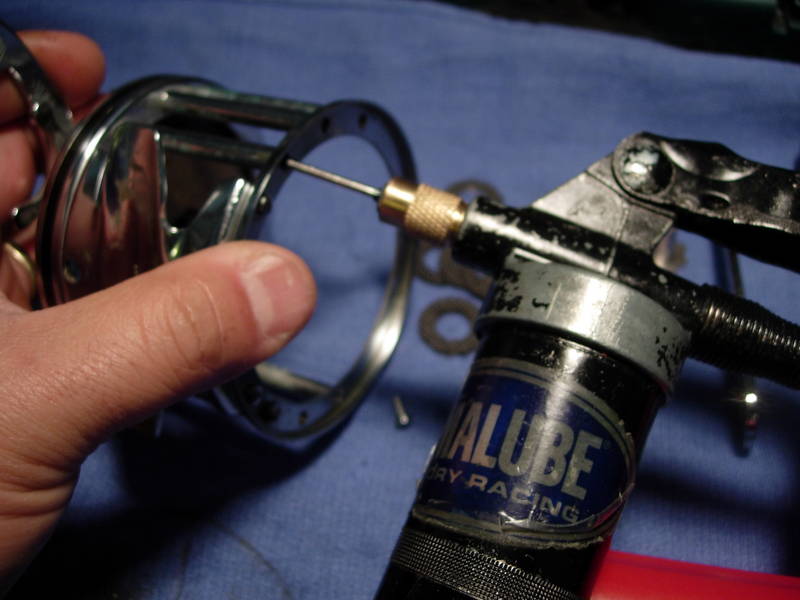
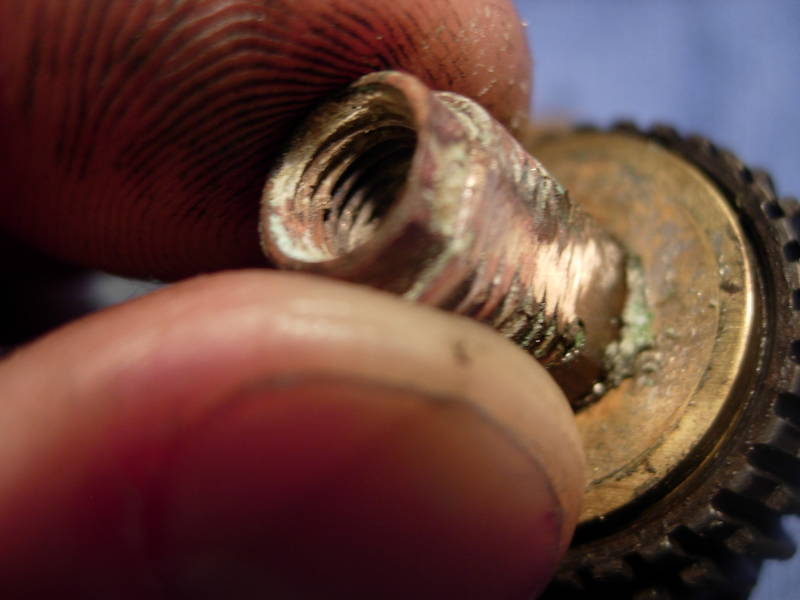
install the new stainless steel gear sleeve (part #98-60 at). channel locks work
well to press the pin in. if the pin sticks out a little, a flat file can easily take off the edge.
here's the new line up. i've added an extra pair of metal washers. they alternate keyed, slotted, keyed, slotted, keyed. in between the metal washers go a set of five #6-60 penn ht-100 drag washers. underneath the main gear (key #5) goes a #6-113 drag washer. this is the combination that i've found will give the best performance.
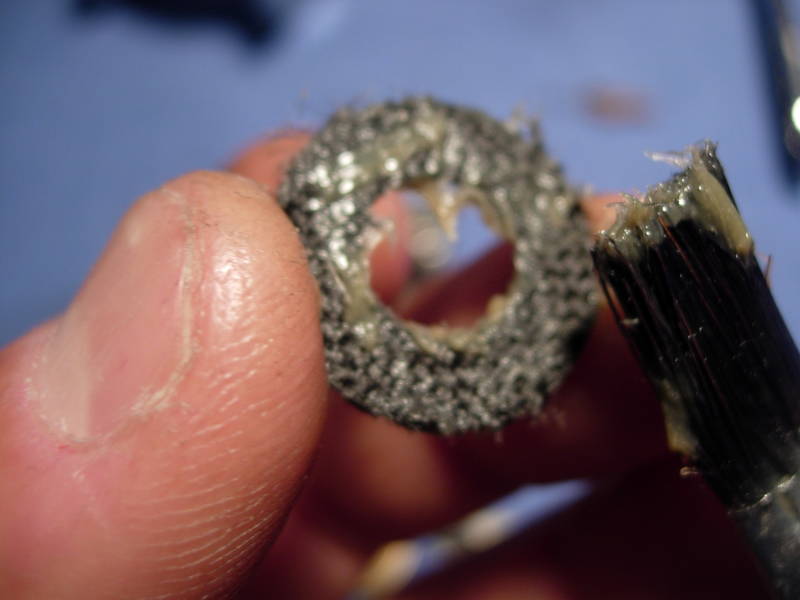
slap a thick coat of cal's drag grease on each drag washer and rebuild the stack. don't worry about the excess. it will just squeeze out the sides.
here's the fourth slotted metal washer. note that it has to nest inside the gear and it barely fits. this is fine as long as you get full drag range. if this metal washer rides up and rotates a few degrees, it will sit on top of the gear. the star will not travel as far when turned down and you will only get a few pounds of drag.
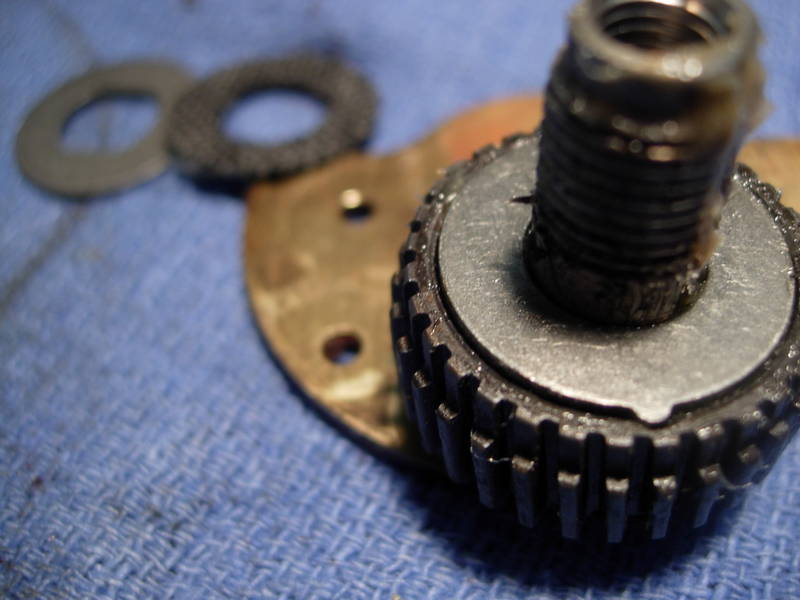
the last carbon fiber washer and metal keyed metal washer sit above the lip of the main gear. no problem.
when you put some pressure on the drag stack, it squeezes right down. we're done here. let's set it aside.
-
Ausfish Bronze Member
-
Ausfish Bronze Member
-
Ausfish Bronze Member
Re: 2/0 penn 111 rebuild
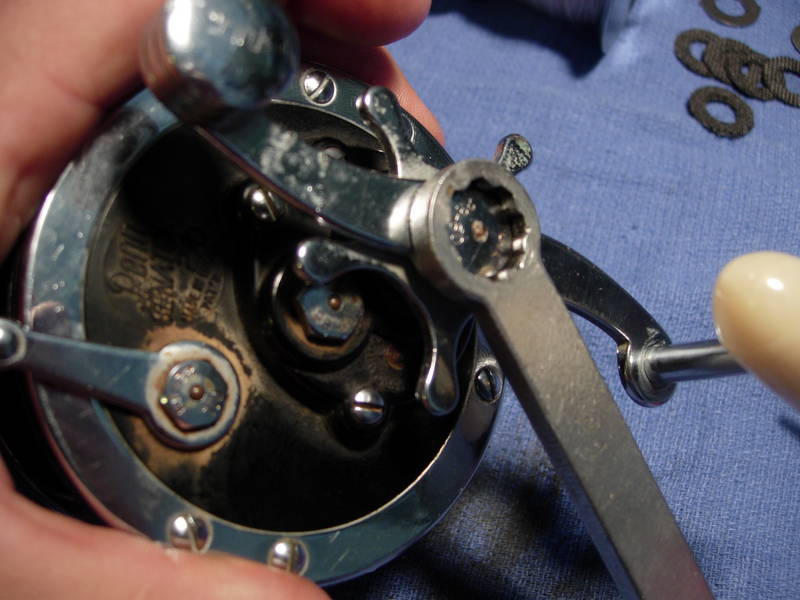
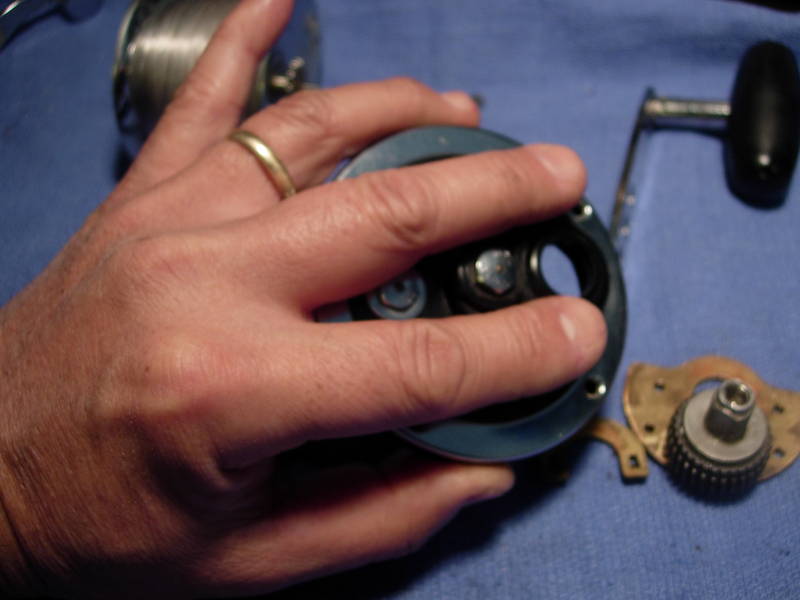
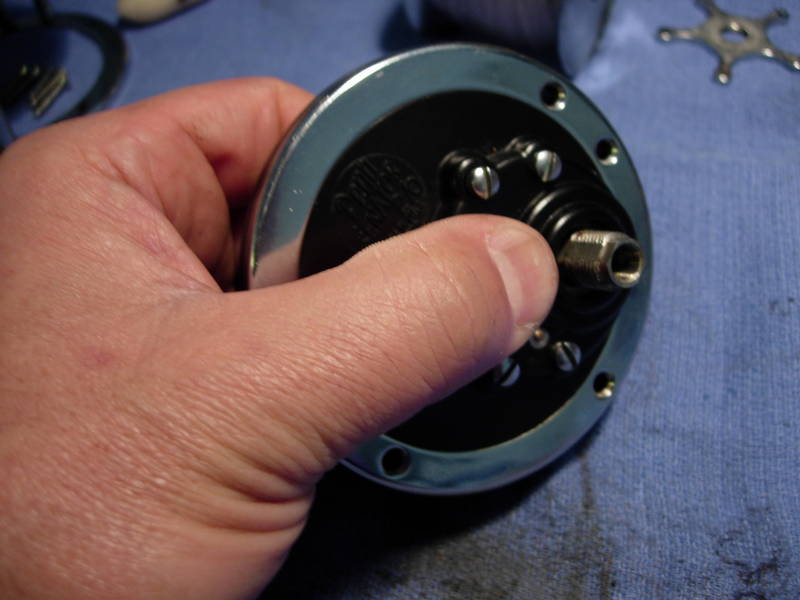
install the right side plate assembly and screws. remember, one is short.
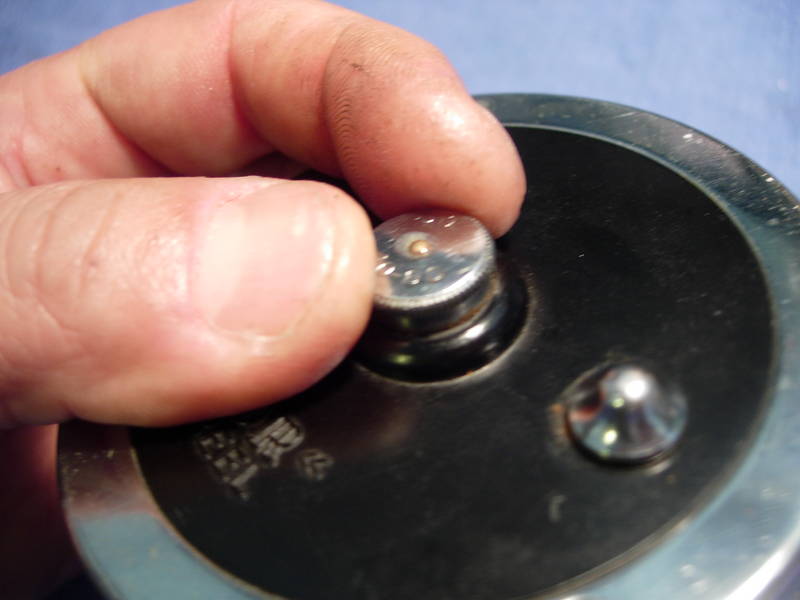
adjust the left side bushing (key #40) until you have zero load and zero free play.
watch it spin!!!!!!!!!!!!!!!!

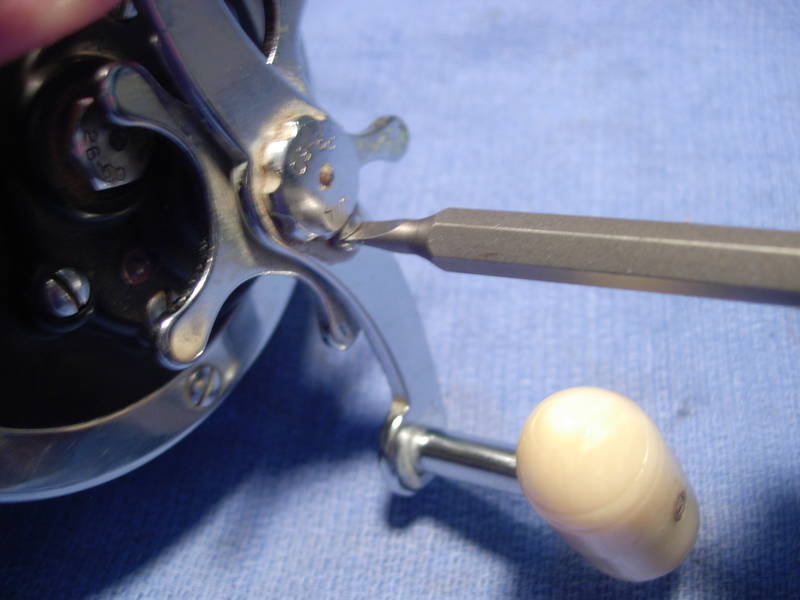
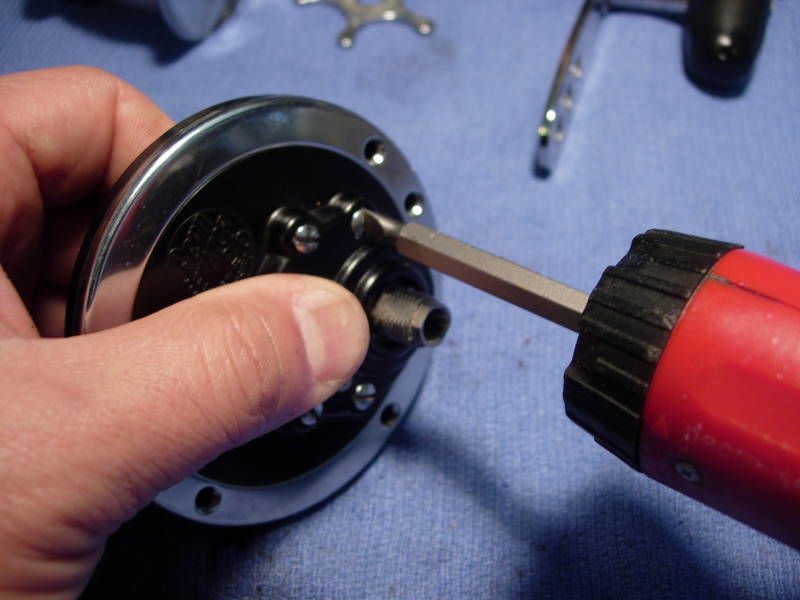
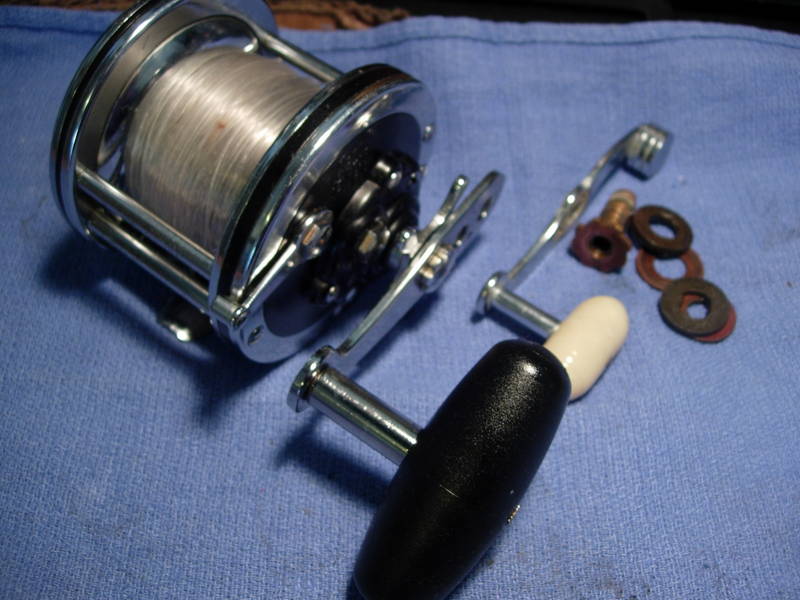
install the handle (key #24). in this case, it's a #24-56 jigmaster power handle.
install the handle screw (key #23).
install the handle lock screw (key #23a).
lube the handle.

.... and done! for general maintenance, my recommendation is to strip off all the line after every trip. yes, you read that correctly. line is cheap. get rid of the old stuff. rinse the reel with fresh water, shake it out, dry it, respool it and reset the drag. if the freespool slows down, back out both bushings, clean them with a Q tip, lube them with corrosion x and reinstall then. if needed, order up new bushings. they are also very cheap. this particular reel benched out at 15 pounds. more than enough for our local salmon. it should hold up for a very long time.
-
Ausfish Gold Member


Re: 2/0 penn 111 rebuild
Wow Alan, I've seen your stuff on the Western Angler site, but this old fossil is a beaut re-build.
It was with your assistance thjat I managed to upgrade a CVZ drag some time back.
It's much easier when you know how.
Thanks again,
Tim
-
Ausfish Addict


Re: 2/0 penn 111 rebuild
Fantastic pictorial Alan.
Any chance of a baitrunner re-build? 
I'm sure there would be plenty of interest and appreciation!
Cheers and must say, great job!
 Posting Permissions
- You may not post new threads
- You may not post replies
- You may not post attachments
- You may not edit your posts
-
Forum Rules


 Reply With Quote